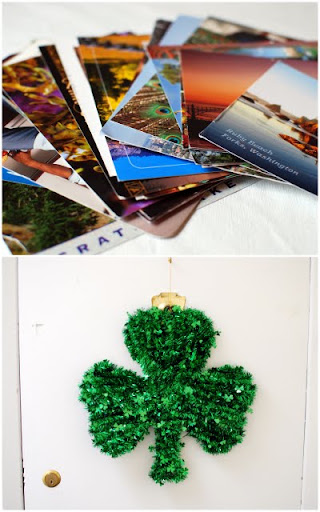
 First, I needed to find a way to display some postcards I received recently. Second, I desperately needed to change out the 'festive' decor on my front door, since I was horrendously out of date. (Yep- that poor guy has been hanging there for quite a few months... which isn't all that surprising!)
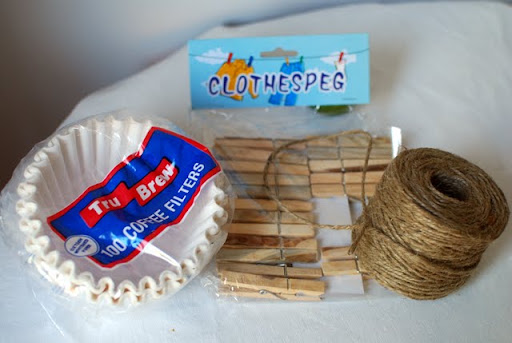
That being said, I didn't want to spend a ton of money... so I ran to my local Dollar Store and spent $3 on coffee filters, clothes pins, and twine. (Just typing that sentence made me feel like MacGyver!)
 I tackled the postcard project first. You see, my brother recently toured the West Coast for a couple of weeks and sent me the most amazing stack of notes while he was gone.
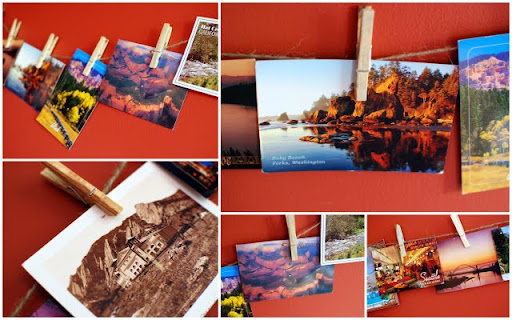
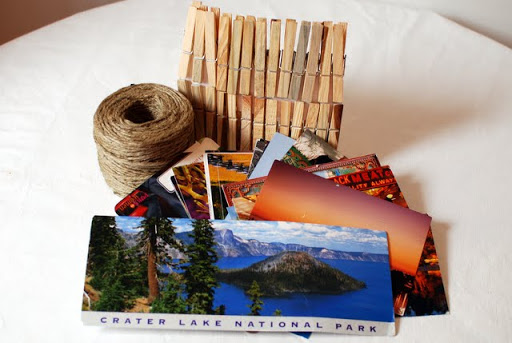 So I decided to string some twine along a wall in my living room, and I clipped the postcards along the line.
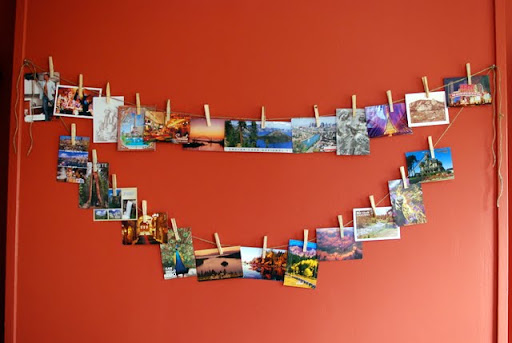 I really like the way this turned out- not only does it add some visual interest along a normally blank wall, but the postcards can easily be re-arranged and removed (and I can re-read what my brother had to say about each stop). And on a lucky note, several of the cards totally match the wall color- what a great coincidence!
 After that project was complete, I turned my attention to the front door. I pulled my watercolor supplies off the shelf, and got to work.
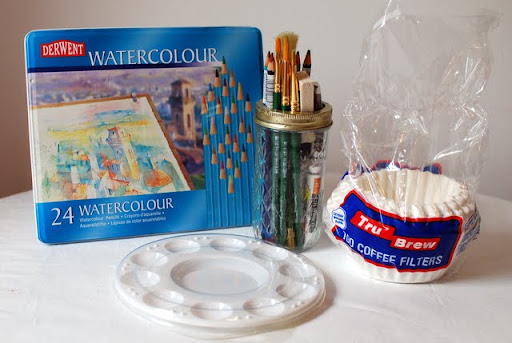 I played around for a bit, and found my groove pretty quickly! Here's what I did:
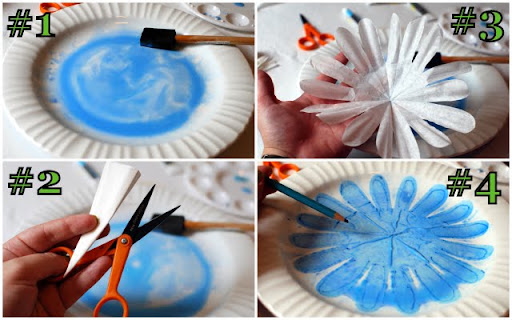
- I mixed some water and paint in a dinner plate.
- I folded a coffee filter like I was going to make a paper snowflake.
- But instead of cutting designs like on a snowflake, I just rounded the ends to create a "petal" shape.
- Once the flower was cut, I placed it into the paint plate, and made sure the paper was completely saturated.
 I repeated this step around 40 times, using various paint colors, and left the flowers to dry.
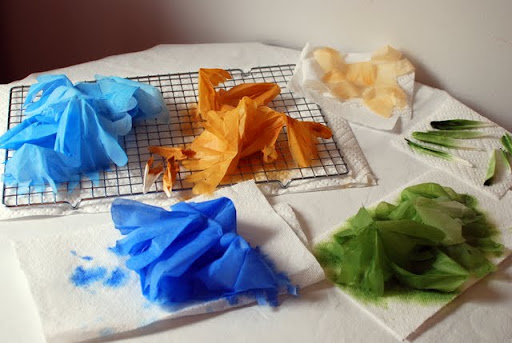 Once the filters were completely dry, I started to assemble my new door-decor.
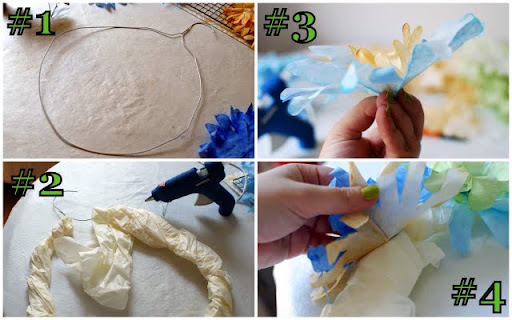
- I started my wreath with an old wire hanger I had in my closet. I bent it into a circle, retaining the hook at the top.
- Using some tissue paper from a gift I received a while ago, I wrapped the wire, which allowed me more surface area to glue the flowers.
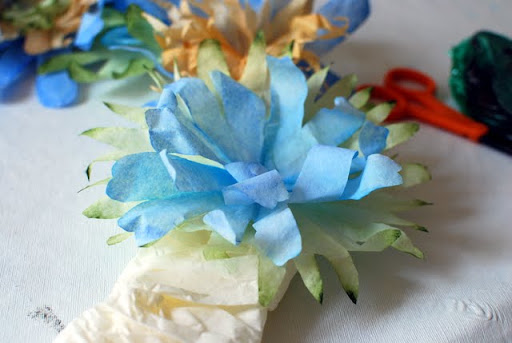
- I randomly assembled flowers, using various sizes, colors, and shapes layered on top of each other.
- After I'd completed a flower, I glued it to the wreath.
 And after I'd done that a few times...
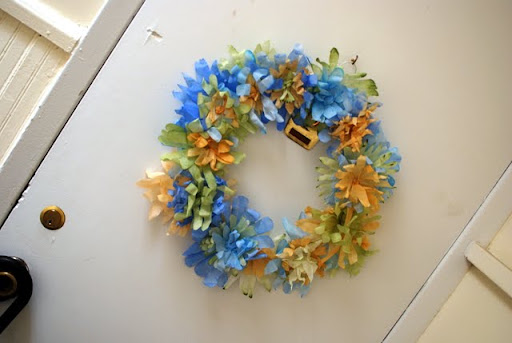
 I had a finished wreath on my hands!
 Isn't it cute? I thought the colors were perfect for the summer, and the papery texture of the flowers will be a nice change for my front door.
 Much better than that glittery shamrock, don't you agree?
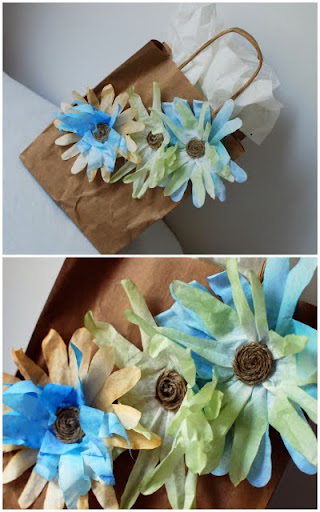
 And as a bonus, I created this little gift bag out of the leftover flowers.
 All in all, I think that was a well spent $3- and I'm so glad to cross those projects off my "to do" list! Thank you for stopping by- I hope you have a great day!
UPDATE: I'm excited to say that my Coffee Filter Wreath is listed on One Pretty Thing today!



