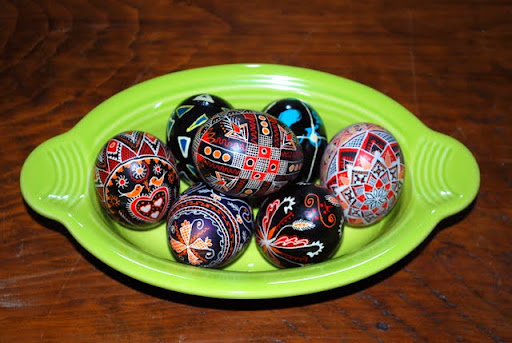
 I haven't made a pysanky since I lived at home. So a couple weeks ago my parents sent me some of the supplies you need to make pysanky eggs- now I can start a collection of my own! Here are some of the items you need to make these beautiful eggs:
 It's pretty basic- you just need eggs, beeswax, a kistka (or two), a pencil, a candle, paper towel, and the special Pysanky dyes. The dyes come in powder form- to make them you follow the simple recipe on the package. We keep our dyes in mason jars: they last for years this way, and it makes the dye very easy to label and use.
 I mentioned the kistka earlier- this is what it looks like up close. It's usually available in different widths (fine, medium, heavy), and is made of brass and plastic.
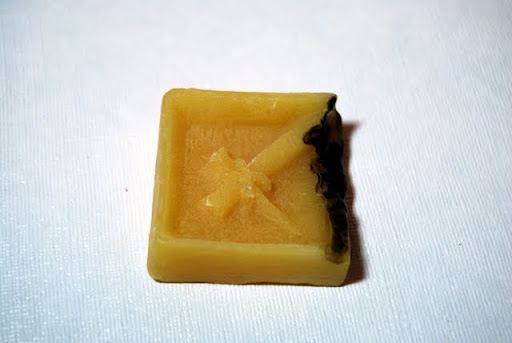
 We use regular light beeswax, since we prefer candle heated kistkas (more on that in a second)... but there's also a dark beeswax available to those who use electric kistky.
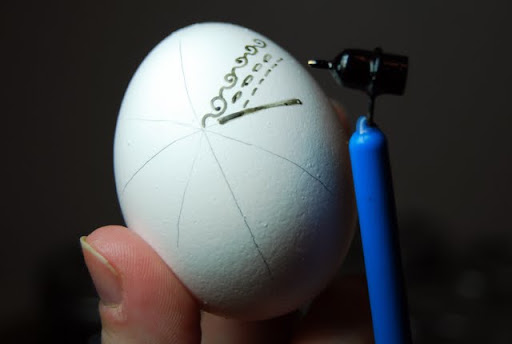
 Now that you know what the supplies are, how about I show you how we actually decorate the eggs? Depending on your design, it's often helpful to mark out the divisions on the egg- we do this with a regular pencil.
 Then, in order to heat the kistka, we hold it in the candle flame until it's hot. Then we dip the kistka into the beeswax to fill the receptacle with melted wax.
 Then we use the kistka to draw designs and shapes on the egg. Easy and fun, right?
 Apparently SFS thought so, too! I was so excited to decorate eggs the other day- and SFS decided to make one of his own! So we got all the supplies out, turned some basketball on TV, and went to town.
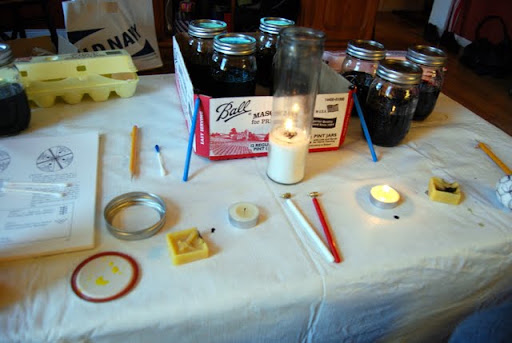 We were having an absolute BLAST! Here's one of my eggs, sitting in the yellow dye! Each time you use the kistka to mark designs on your egg, the wax seals the design over whatever color the egg is at that time. We usually start with a light color (like yellow), and work our way through the rainbow ending in black.
 When we've added all the designs we want, then we hold the eggs close to the candle flame to melt the beeswax, which we then rub off with a paper towel. I'm not sure if that makes sense, but there are lots of videos demonstrating the process on youtube.com if you need a little more explanation!
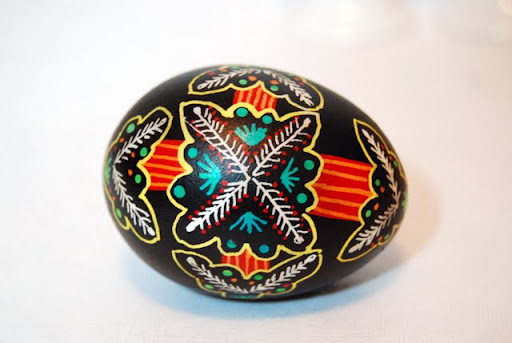
So few hours of fun (and lots of stained fingers) later, here's what we finished up with: 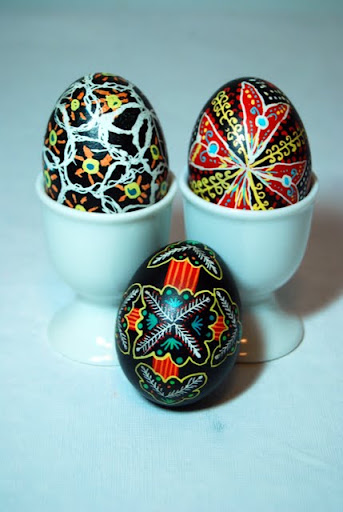 SFS' is on the left- I'm so proud of his first pysanky! As for my eggs, I'm particularly fond of this one- I've come a long way since the triangle egg, right?
 If you'd like to learn more about this incredible art, I would recommend visiting The Ukrainian Gift Shop- that's where all my supplies came from, and they have a really amazing online store!
 Thanks for stopping by to check out my Pysanky Eggs- I hope you have a wonderful Thursday!




