With the holidays just around the corner, I thought I'd share this tutorial for a festive centerpiece that I made for a friend's blog last year- enjoy!!
I don't know about you, but one of my favorite things about the holidays are the traditions! From gift exchanges, to recipes, to decorations- I love it all! So here's a tutorial for the holiday centerpiece that my mom makes every year.
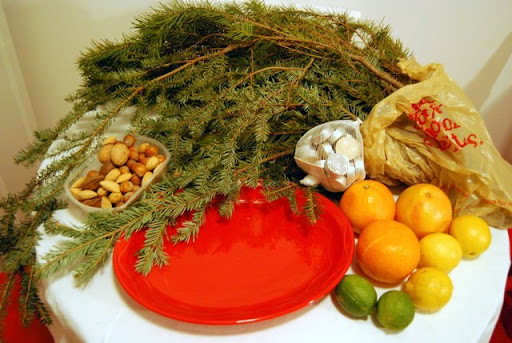 The supplies are pretty basic: for this arrangement I used a platter, pine boughs, various citrus fruit, tea candles, and nuts.
Because I live in NYC, I visited the Christmas tree stand by the subway to obtain the greens... but you can also clip a few off an obliging tree in your backyard or use some scraps from your own Christmas tree!
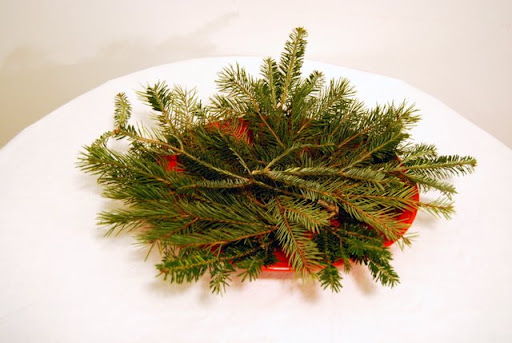
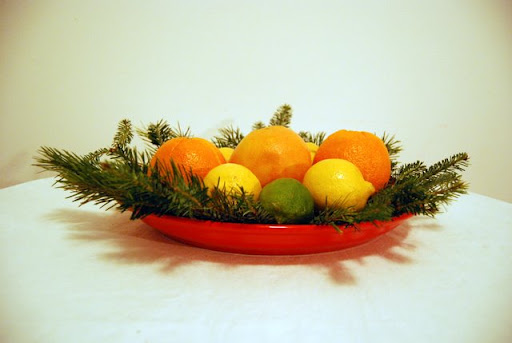
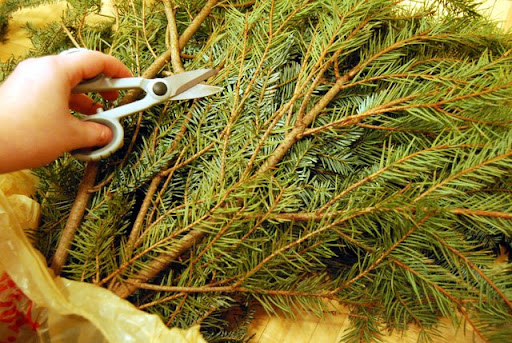 Start by arranging the boughs on your platter. I would advise using smaller branches- simply lay them with the ends barely hanging over the edge of the platter. It'll look a little messy, but that will all be covered up soon enough!
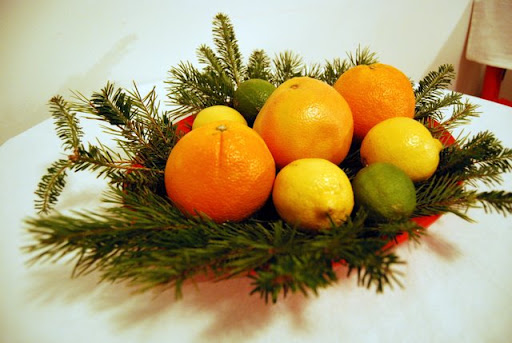
 Once you have your greens arranged, its time to add the fruit. In my family, we usually start with a grapefruit in the middle, flanked with oranges. Then we add a couple limes and a few lemons, until things look just right.
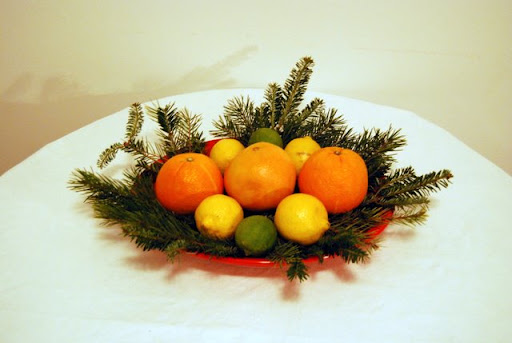 It's really starting to come together! May I also add that this is a great centerpiece, because its low and doesn't obstruct conversation across the table!
 And while this might look fine as it is, we don't stop there!
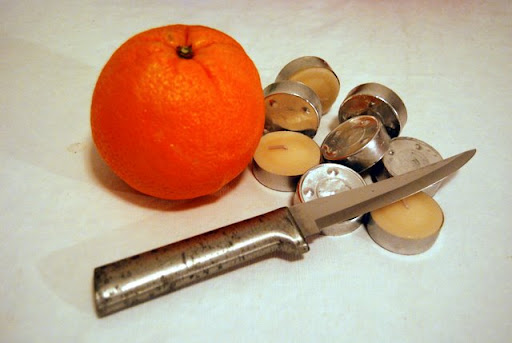
 What's a holiday centerpiece without candles? Start by gathering your fruit, tea candles, and a knife.
 Go ahead a pop one of the candles out of it's metal dish.
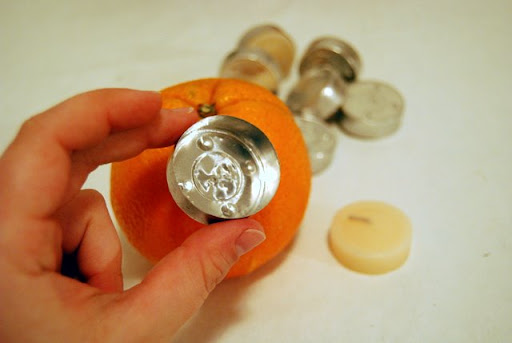 Use the metal dish to mark a circle on top of your fruit.
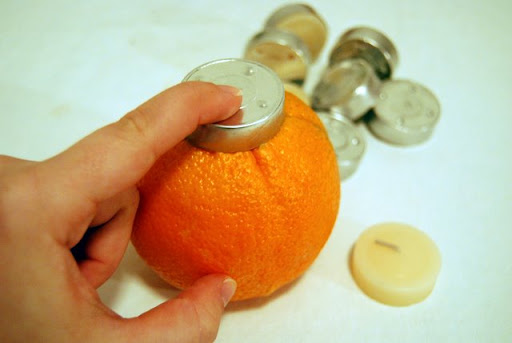 Press down on the dish, enough to make an indentation in the rind of the fruit.
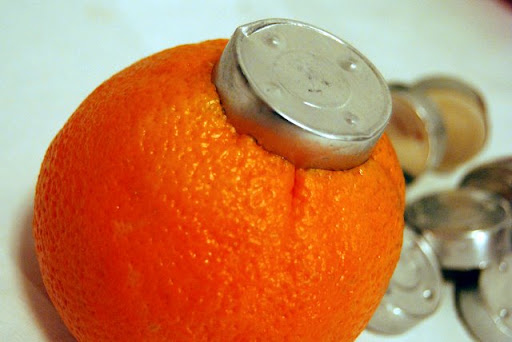 Remove the metal dish, and proceed to cut the circle out of the fruit.
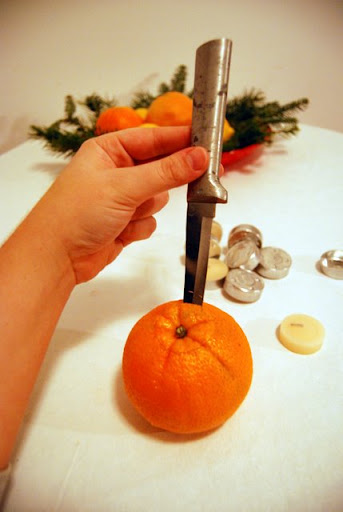 Then go ahead and remove the chunk of rind and pulp.
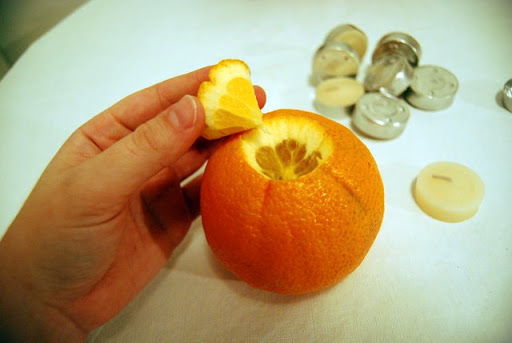 Now that you have a perfectly cut hole in your fruit, insert the tea candle.
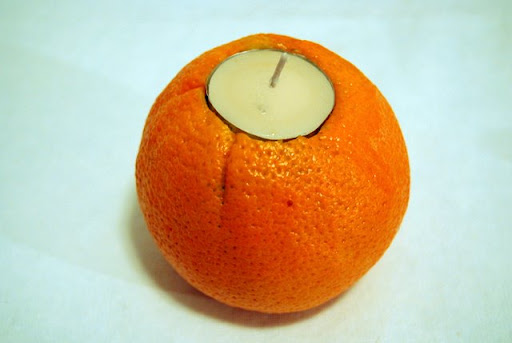 Now that you've finished one fruit, go ahead and do the same thing to the rest! Eventually, you'll have this:
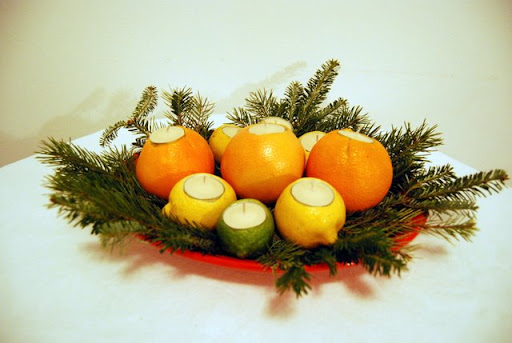 And now for the pièce de résistance: NUTS!
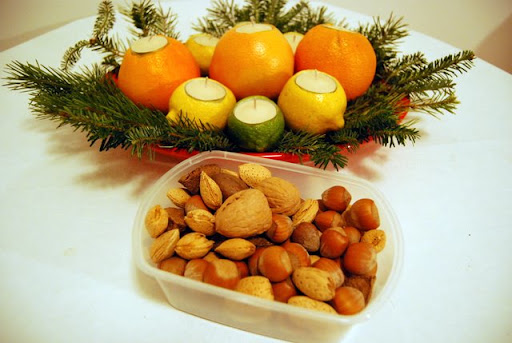 Just go ahead and add them throughout the centerpiece.
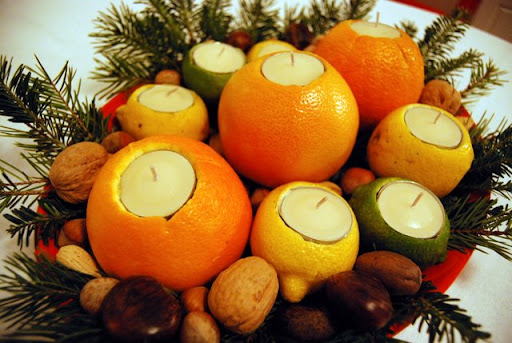 And voilà!
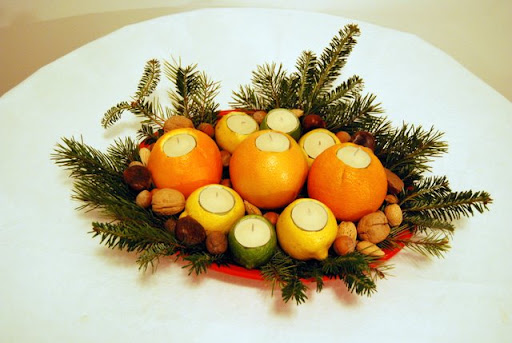 What do you think of the finished product?
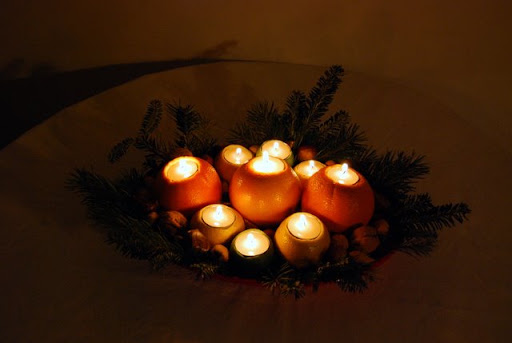
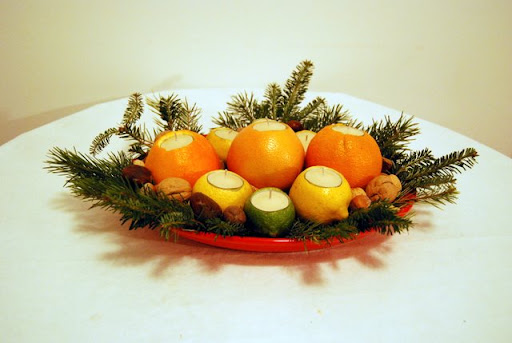 Believe it or not, it looks even better when lit!
 Thank you for stopping by- I hope you have a great day!
I don't know about you, but one of my favorite things about the holidays are the traditions! From gift exchanges, to recipes, to decorations- I love it all! So here's a tutorial for the holiday centerpiece that my mom makes every year.
The supplies are pretty basic: for this arrangement I used a platter, pine boughs, various citrus fruit, tea candles, and nuts.Because I live in NYC, I visited the Christmas tree stand by the subway to obtain the greens... but you can also clip a few off an obliging tree in your backyard or use some scraps from your own Christmas tree!
Start by arranging the boughs on your platter. I would advise using smaller branches- simply lay them with the ends barely hanging over the edge of the platter. It'll look a little messy, but that will all be covered up soon enough! Once you have your greens arranged, its time to add the fruit. In my family, we usually start with a grapefruit in the middle, flanked with oranges. Then we add a couple limes and a few lemons, until things look just right. It's really starting to come together! May I also add that this is a great centerpiece, because its low and doesn't obstruct conversation across the table! And while this might look fine as it is, we don't stop there! What's a holiday centerpiece without candles? Start by gathering your fruit, tea candles, and a knife. Go ahead a pop one of the candles out of it's metal dish. Use the metal dish to mark a circle on top of your fruit. Press down on the dish, enough to make an indentation in the rind of the fruit.Remove the metal dish, and proceed to cut the circle out of the fruit. Then go ahead and remove the chunk of rind and pulp. Now that you have a perfectly cut hole in your fruit, insert the tea candle. Now that you've finished one fruit, go ahead and do the same thing to the rest! Eventually, you'll have this:And now for the pièce de résistance: NUTS! Just go ahead and add them throughout the centerpiece. And voilà! What do you think of the finished product? Believe it or not, it looks even better when lit!Thank you for stopping by- I hope you have a great day!



