I don't know about you, but nothing signifies the arrival of autumn like a big pot of
mums.
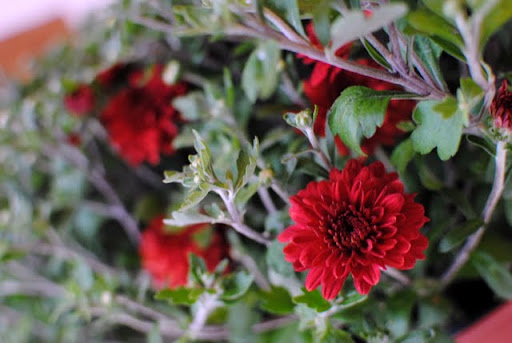
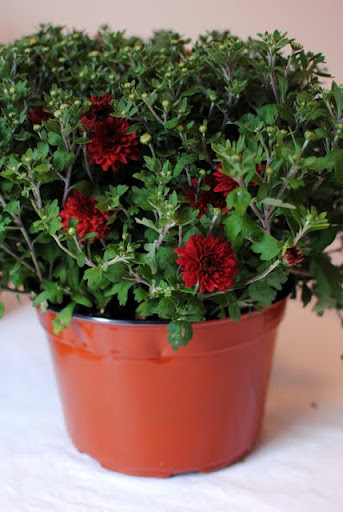
And while I was thrilled to see these hardy plants at my local grocer, I wasn't exactly thrilled with the ugly plastic pot they were planted in.
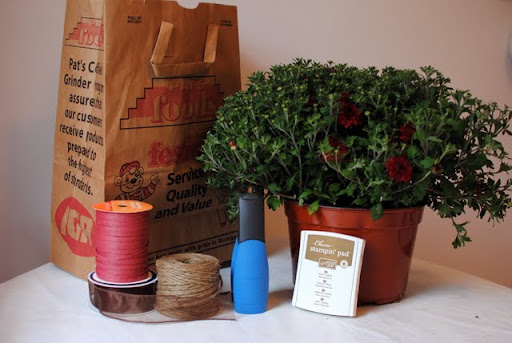
So being the resourceful (aka "thrifty") person that I am, I decided to improve things! Here's what I used: a paper bag, random ribbons, a stapler, and an ink pad.
I started by cutting open the bag.
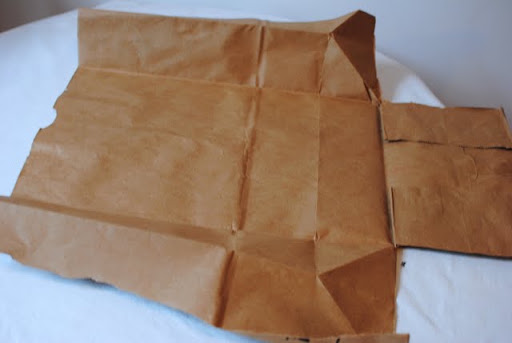
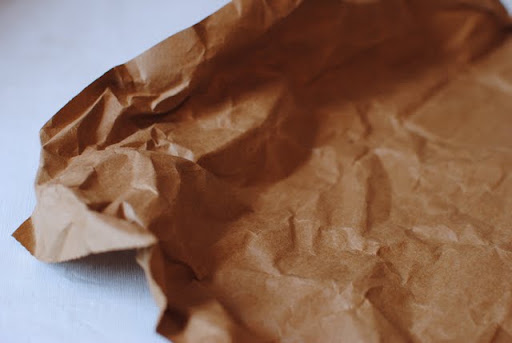
Then I crumpled the bag to create lots of wrinkles before smoothing it out again.
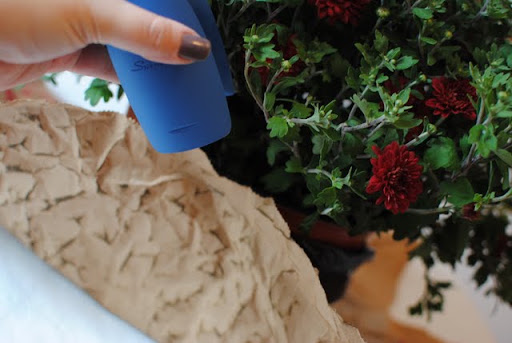
Then I swiped a brown ink pad over the paper- the ink stained the wrinkles in the paper...
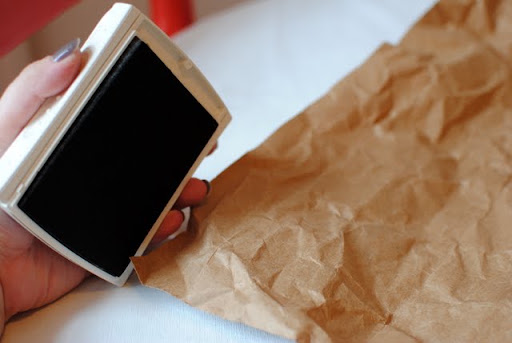
See?
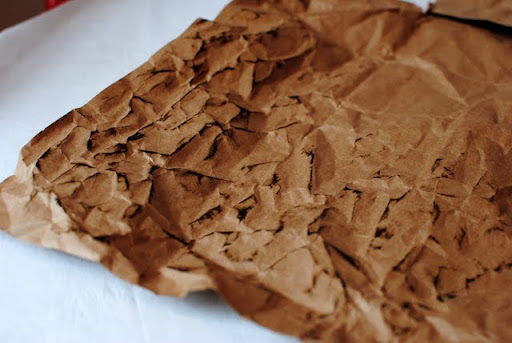
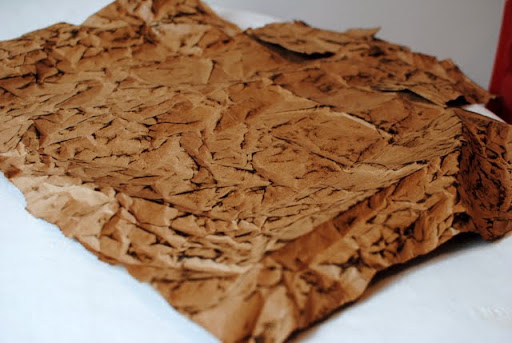
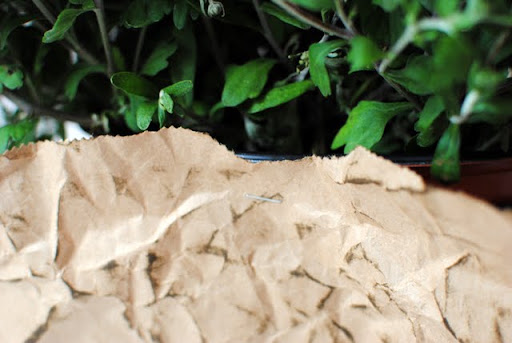
I like this "distressed" look, so I applied it to the entire bag. Easy and cheap- now that's my kind of paper!
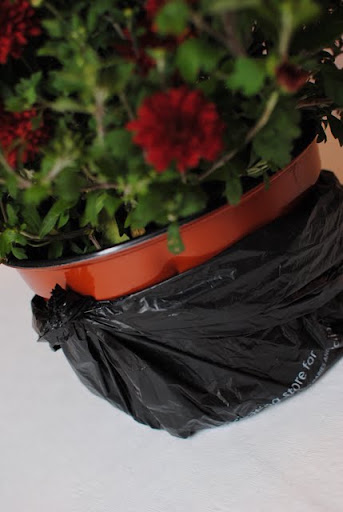
But before I started covering the plastic pot, I wanted to ensure that my hard work wouldn't be ruined- so I wrapped the bottom of the pot in an old plastic bag.
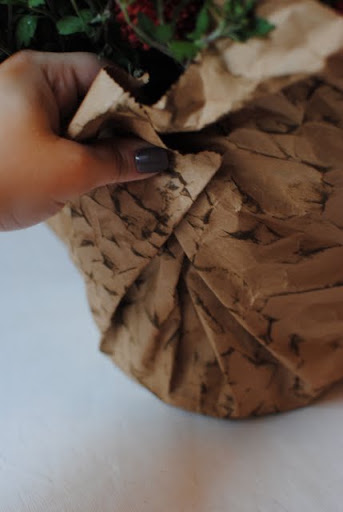
Then I got to work wrapping the pot, using my trusty stapler.
See?
Now, I must confess: I've had a lot of experience wrapping plastic pots. Back when I was in college, I worked lots of odd jobs. During one Christmas vacation I worked at a grocery store in my hometown where I wrapped poinsettias in foil all day long for two weeks. It was a pretty fun job- and I learned how to wrap a pot pretty quickly!
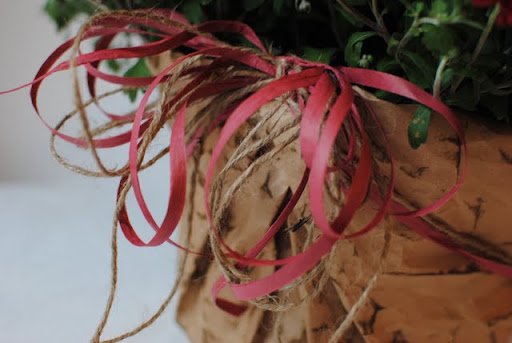
After I'd stapled the paper in place, I used some twine and raffia I had in my craft stash...
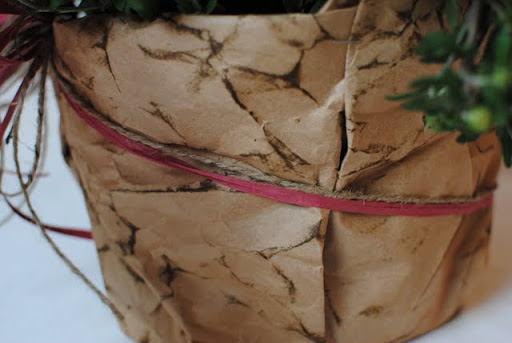
To make a simple bow.
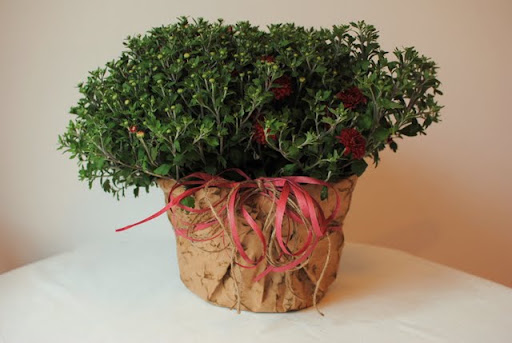
So after using a few common items and spending a handful of minutes at my kitchen table, I had a seasonal plant that I was much happier with!
Thank you for stopping by- I hope you're having a great day!