Showing posts with label herbs. Show all posts

Thursday, May 27, 2010

Pasta Bake

There's a cafeteria where I work. And believe it or not, I actually eat there. This is quite ironic, because when I was in college I didn't enjoy the cafeteria at all- in fact I avoided eating there at all costs... and now that I've grown up and have a plethora of restaurants available all over NYC, I sometimes prefer to eat in the cafeteria.... go figure, right?

As I'm sure you remember from your school days, there are certain food items that make a trip to the cafeteria especially worthwhile. My colleagues and students always look forward to "Pasta Bake Day". It doesn't happen very often, but when we see a big ol' tray of pasta, covered in melted cheese, we know we're in for a treat. And while this dish isn't elegant in any way, it sure tastes good.

So the other day, I decided to try and make Pasta Bake at my house... and I think it turned out pretty good!
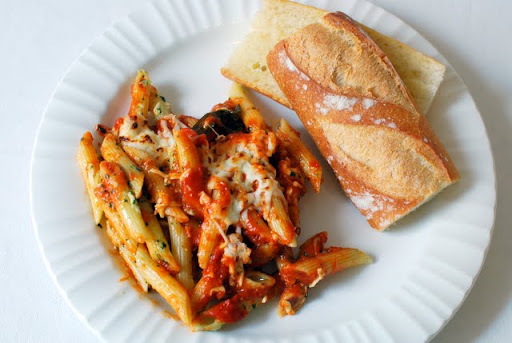
But let's start at the beginning. Here's what I used:
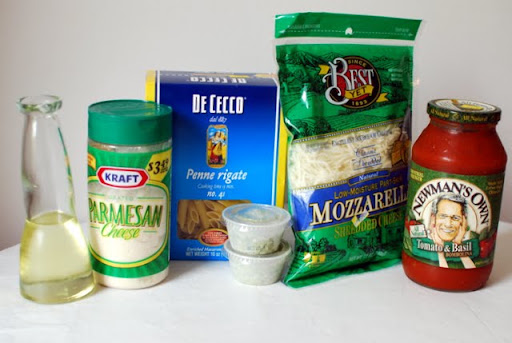
From left to right we have olive oil, Parmesan cheese, penne pasta, pesto (I whipped this up last summer and it's been in the freezer ever since), mozzarella cheese, and pasta sauce. I'll be honest: don't have a loyalty to a particular brand of pasta sauce... but anytime I see a product with Paul Newman's handsome face gazing back at my, I have a hard time not adding it to my shopping cart... just so you know...

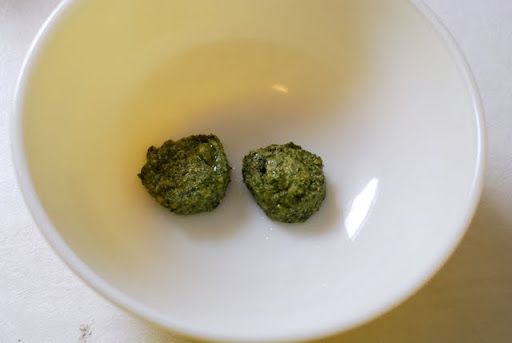
But back to the pasta! After I cooked the entire box of pasta, per the directions on the package, I added it to my homemade pesto (which I had thawed).
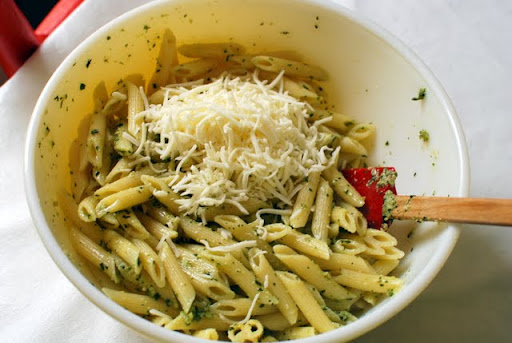
After I stirred the pasta into the pesto, I added a handful of mozzarella cheese.
I then spooned half of the pasta into a 9x13 pan, before sprinkling generously with Parmesan cheese.
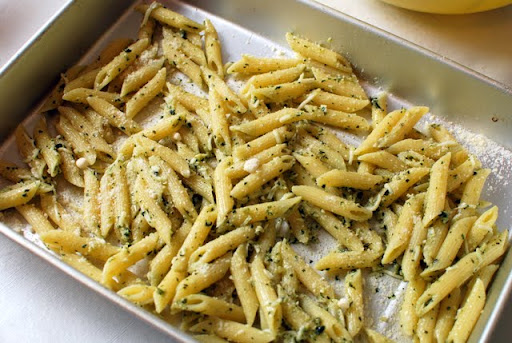
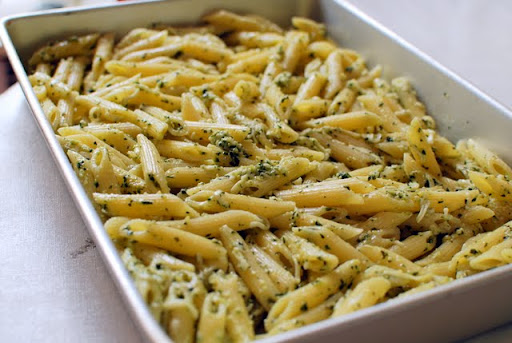
Then I added the rest of the pasta to the pan.
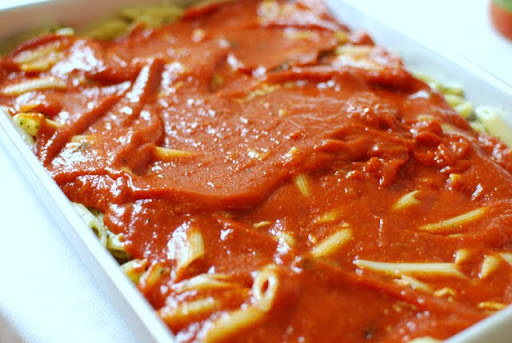
After i warmed the pasta sauce in the microwave , I poured it over the pasta...
And then I dumped the rest of the mozzarella cheese on top!
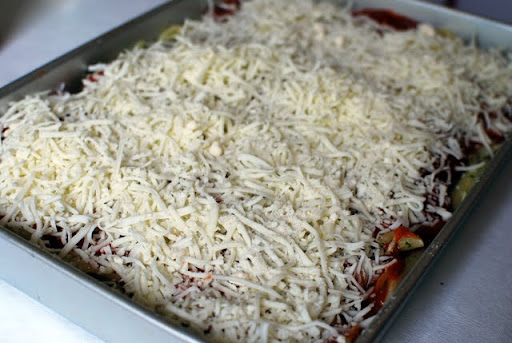
After a few minutes under the broiler, I pulled this pan of melty-deliciousness out of the oven.
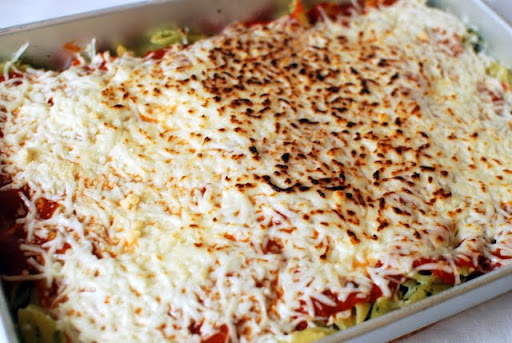
If you want to try this amazingly simple dish at home, here's my not-so-difficult recipe:
Pasta Bake

Ingredients:
1 pound penne pasta
1 24 oz. jar pasta sauce (preferably Paul Newman because he was dreamy)
1/2 cup (approximately) pesto
2 cups mozzarella cheese
Generous sprinkle of Parmesan cheese

Directions:
After boiling the pasta per the directions on the package, mix with pesto and 1/2 cup of mozzarella cheese. Layer pasta in pan with generous sprinkle of Parmesan cheese. Pour warmed pasta sauce over pasta, and sprinkle remaining mozzarella cheese on top. Bake under broiler until cheese bubbles, approximately 3-4 minutes.
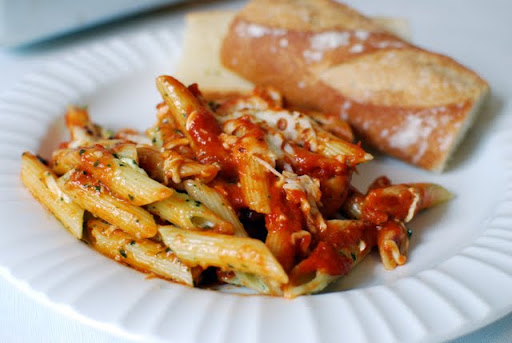
I must admit- this little concoction tasted pretty good! The combination of pesto and sauce is something I'll have to try again!
Thanks for stopping by- I hope you have a great Thursday!

Tuesday, May 25, 2010

Dilly Casserole Bread

The other day, I made Dilly Casserole Bread.
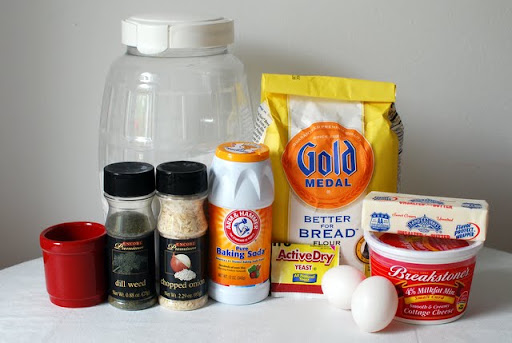
Odd name, right? I thought so too... but I like dill... and I like casseroles... so I decided to give this recipe a whirl! Here's what I used:
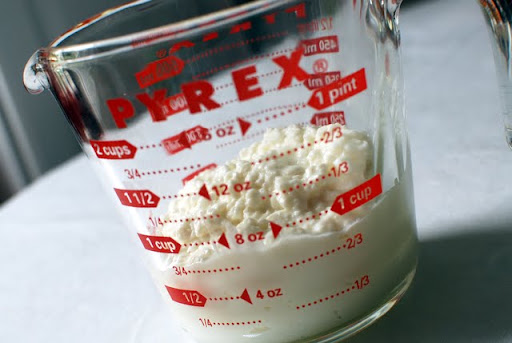
If you can believe it, this recipe calls for cottage cheese! So I heated some up in the microwave...
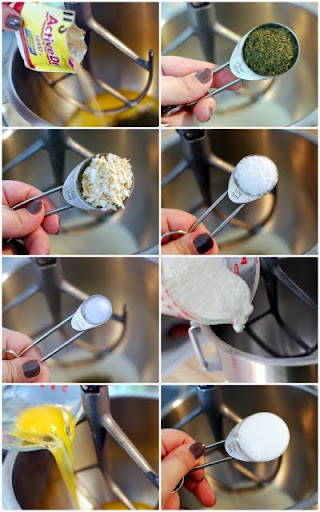
Before mixing with the rest of the ingredients.
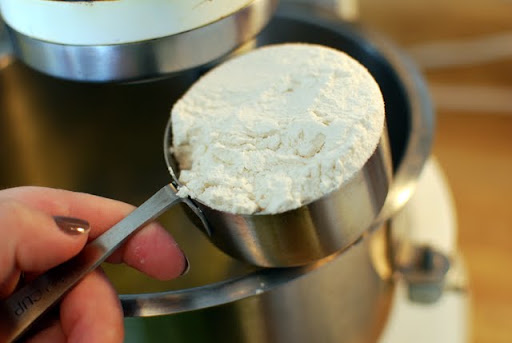
When everything was incorporated, I added the flour a bit at a time...
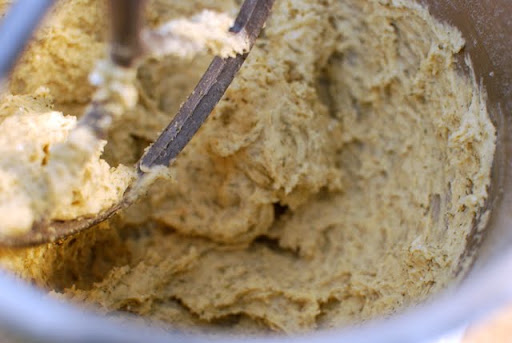
Until everything was combined.
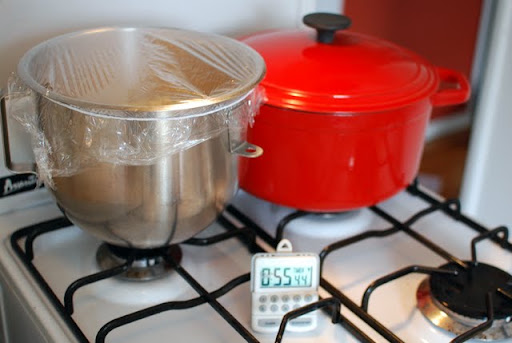
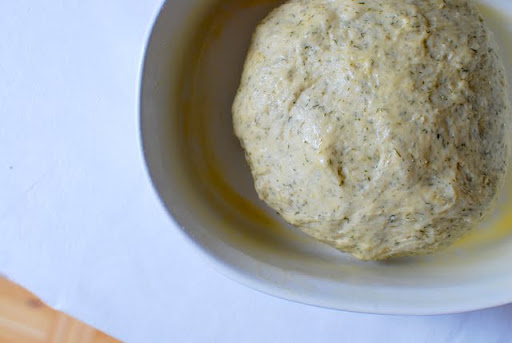
Then I covered the bowl with plastic wrap and set it in a warm place to rise for about an hour.
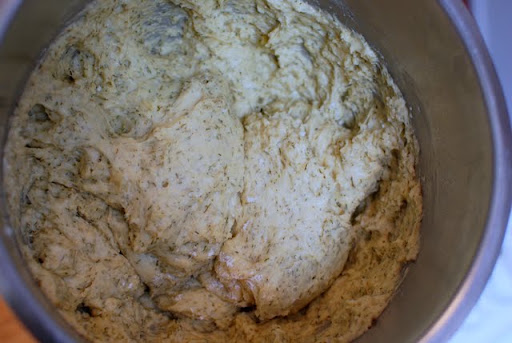
After the rest, I stirred the batter a few times...
Before turning into a greased casserole dish.
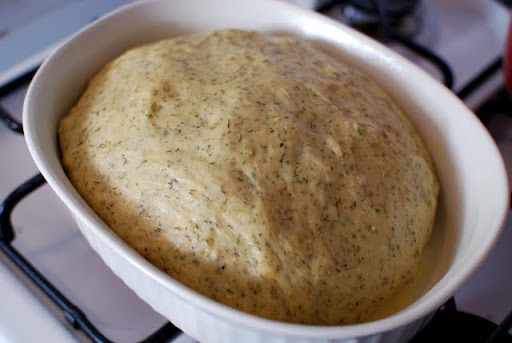
After another little rest in a warm spot (this time for only 45 minutes), this baby was ready for the oven!
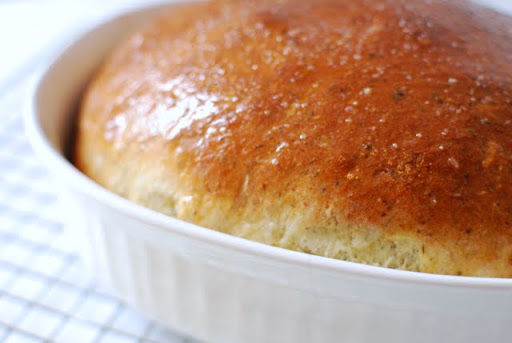
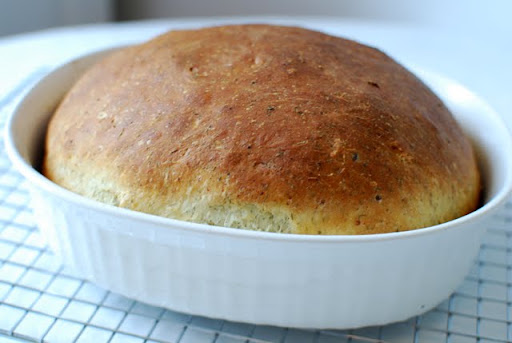
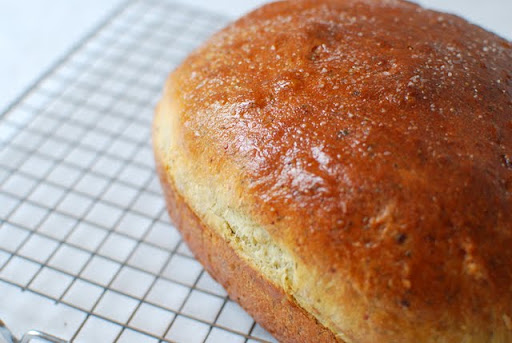
And just 40 minutes later, I pulled out this lovely loaf!
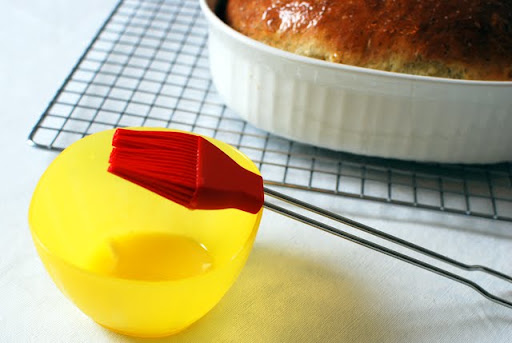
And to make things even better, I immediately brushed the top of the piping hot loaf with melted butter and sprinkled it with a dash of kosher salt.
Talk about a pretty little loaf of bread!
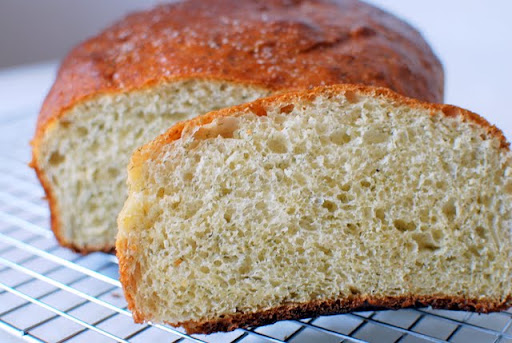
Oh- and did I mention delicious? The dill lends a a surprising taste to this hearty loaf!
If you'd like to make this bread for yourself, here's the recipe:
Dilly Casserole Bread

Ingredients:
1 cup cottage cheese
2 tbsp sugar
1 tablespoon onion flakes
1 tbsp dillweed
1 tsp salt
1/4 tsp baking soda
2 eggs
1 pkg dry yeast
2 1/2 cups bread flour
1/2 tsp butter, melted
dash of salt

Directions:
Heat cottage cheese until warm to the touch, and mix ingredients together. Add flour until stiff batter is formed. Cover dough with plastic wrap and let rise in warm place for 1 hour. Stir batter briefly and pour into greased casserole dish. Cover in wax paper and allow to rise for 45 minutes. Bake at 450 degrees for 40-45 minutes, covering with foil for the last 15 minutes to prevent burning. Remove the bread from the oven, and immediately brush with butter and sprinkle salt over crust. Remove the loaf from the casserole dish after 10 minutes.
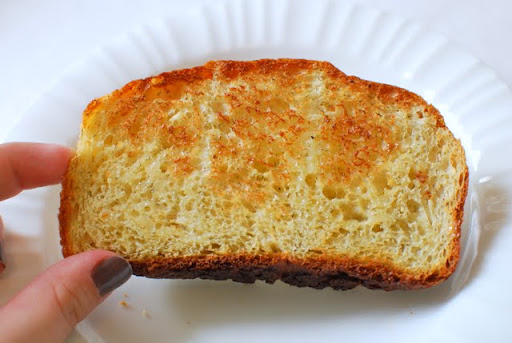
While the bread is delicious as is... might I suggest toasting it and coating with a little butter?
Absolutely scrumptious! I hope you have a great day- thank you for visiting!

Wednesday, March 31, 2010

Rosemary Butter Cookies

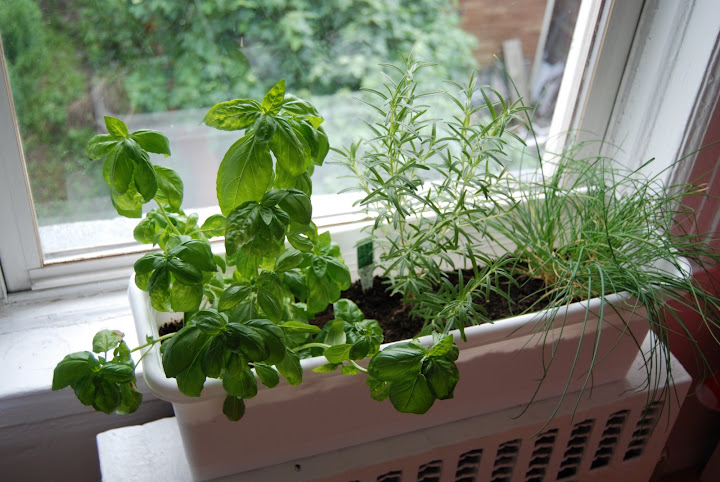
The other day, I made a batch of Rosemary Butter Cookies. Why you ask? Well, let me show you something:
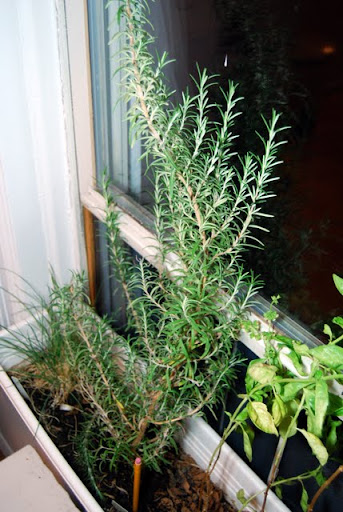
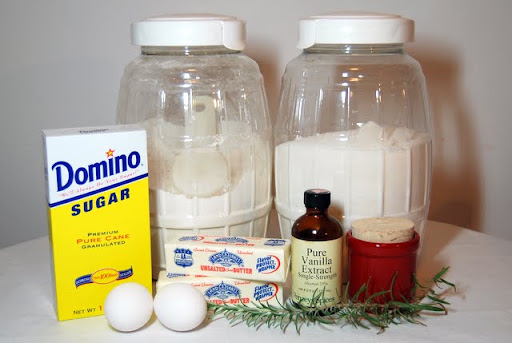
Yes- that is my rosemary plant. It is completely out of control! (I put a mechanical pencil next to the plant to show you just how big its gotten.) I use as much of it as I can, but one can only eat so many rosemary potatoes, etc. So the other day, when I was looking for recipes that use rosemary, I came across an interesting recipe that I couldn't pass up... here are the ingredients:
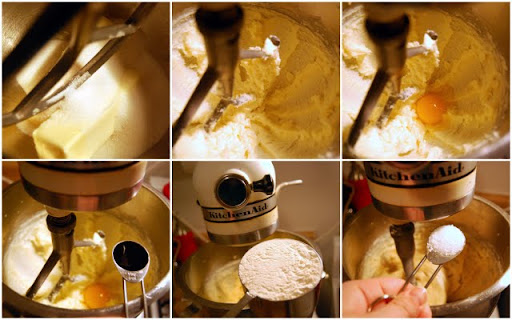
I added the ingredients, one by one...
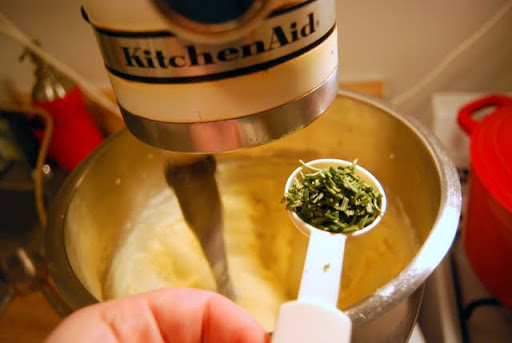
Eventually it was time for the pièce de résistance...
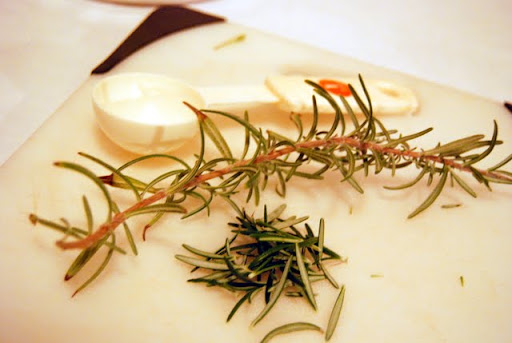
A whole tablespoon of rosemary!
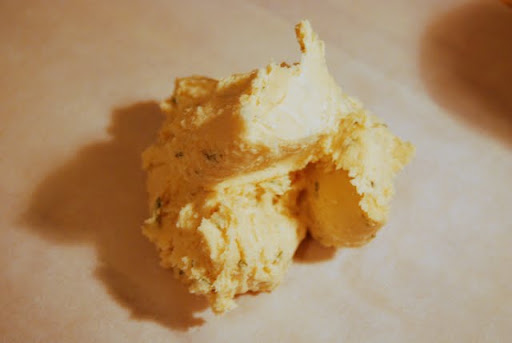
Once the dough was made, the recipe told me to divide it into halves...
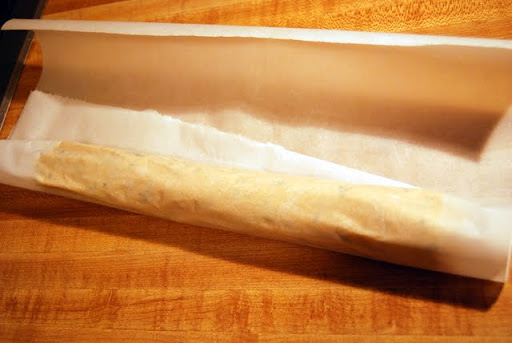
And role it into logs in parchment paper!
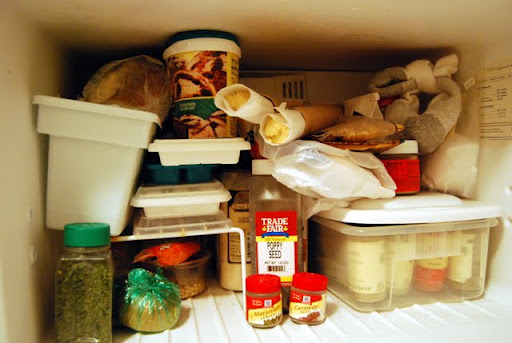
Then I was supposed to slide the paper-covered dough logs into old paper towel roles...
And put them in my freezer to firm up! (Now, I have to admit- sharing my freezer with you is not my finest moment... but now you know my secret- I keep it stocked with loads of herbs and not much else!)
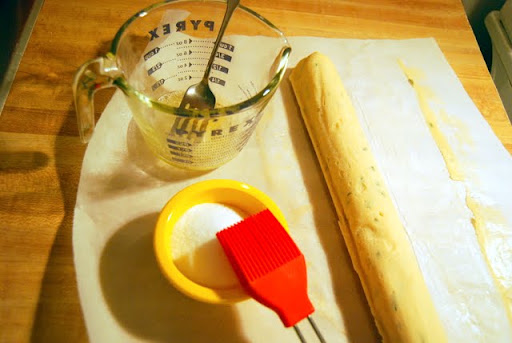
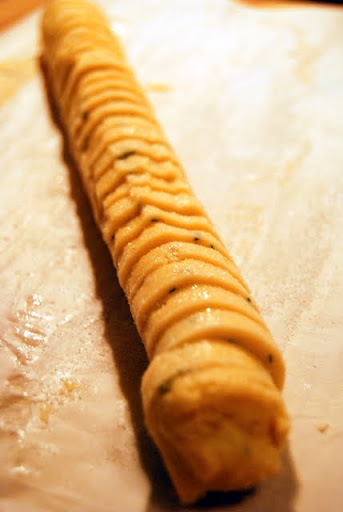
After an hour in the freezer, I unrolled the logs, brushed them with egg white, and sprinkled sugar on all sides.
When the logs we all done, I sliced them...
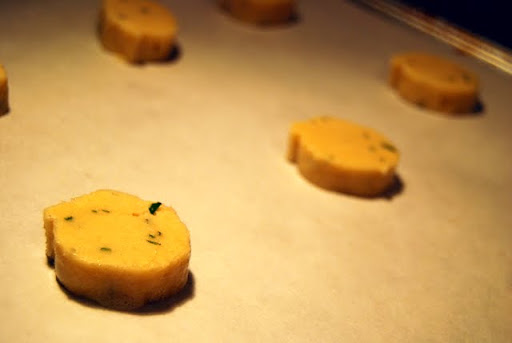
And placed them on the baking sheet.
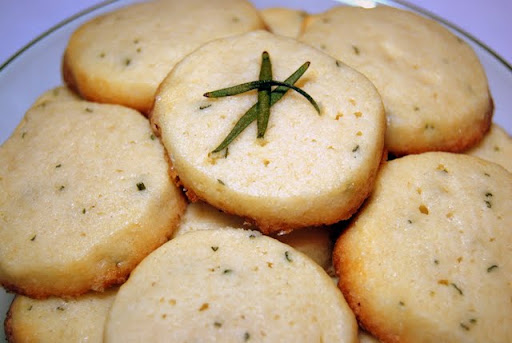
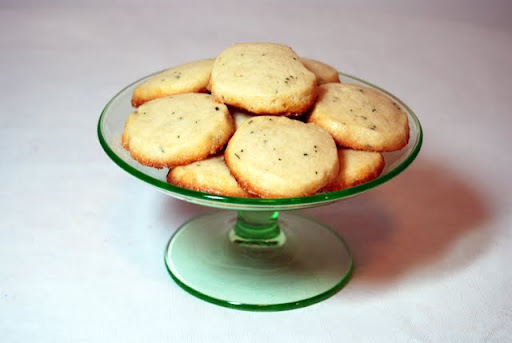
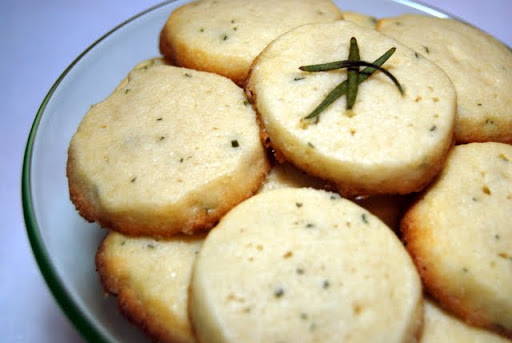
After a brief stint in the oven, here's what I got:
Aren't these the cutest little cookies you've ever seen? I tried playing around with the rosemary on a couple of the cookies- I think it looks kind of nice on top!
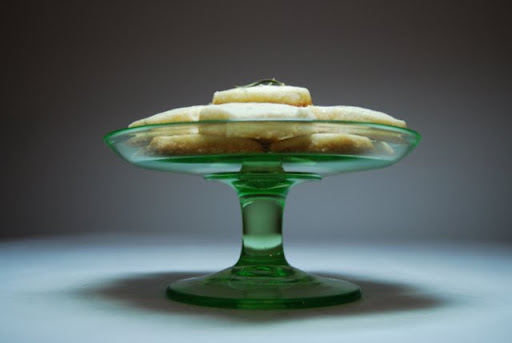
Oh, and how much do you love this mini-cake stand?
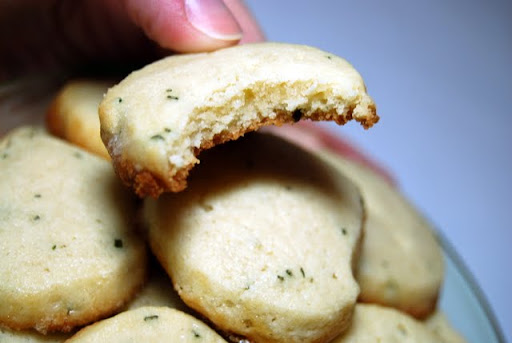
And while these cookies look great, they taste even better. They're sweet and buttery, and the hint of rosemary is surprising yet subtle!
If you'd like to try these for yourself, here's the recipe:

Rosemary Butter Cookies
1 cup (2 sticks) unsalted butter, softened
3/4 cup granulated sugar
1 large egg plus 1 egg white, beaten
1 teaspoon pure vanilla extract
2 1/2 cups sifted all-purpose flour
1 tablespoon finely chopped fresh rosemary
3/4 teaspoon coarse salt
1/2 cup fine sanding sugar
Directions: Put butter and granulated sugar in the bowl of an electric mixer fitted with the paddle attachment; mix on medium speed until pale and fluffy, about 2 minutes. Mix in whole egg and vanilla. Reduce speed to low. Add flour, rosemary, and salt, and mix until combined. Halve dough; shape each half into a log. Place each log on a 12-by-16-inch sheet of parchment. Roll in parchment to 1 1/2 inches in diameter, pressing a ruler along edge of parchment at each turn to narrow log. Transfer to paper-towel tubes to hold shape, and freeze until firm, about 1 hour.
Preheat oven to 375. Brush each log with egg white; roll in sanding sugar. Cut into 1/4-inch-thick rounds. Space 1 inch apart on baking sheets lined with parchment. Bake until edges are golden, 18 to 20 minutes. Let cool on sheets on wire racks. Store in airtight containers at room temperature up to 3 days.
Thanks for stopping by- I hope you have a great day!
Monday, June 29, 2009

I'm a FARMER!
I completed my first "harvest" this weekend, so I'm pretty sure the word "farmer" applies to me! Let's start with a picture of my "crop"...
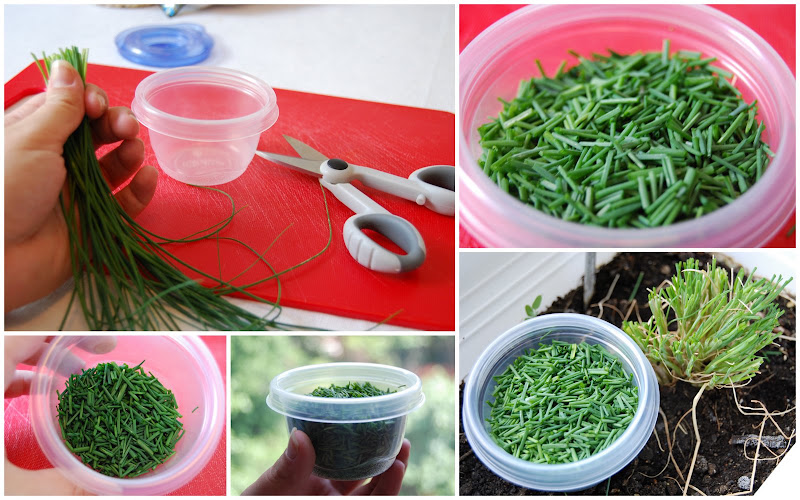
I know- it's a miracle, right? I didn't kill a single one of my herbs, and they seem to be flourishing, if I do say so myself! I had time this weekend to sit down and 'put up' my first harvest. I started with the chives:
In retrospect, I realize that the picture of the harvest next to the shorn plant is a little morbid... sorry about that.

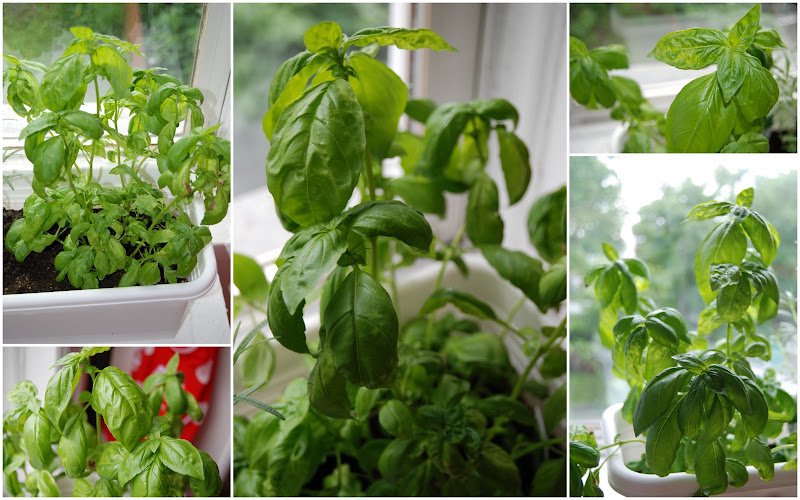
After the chives, it was onto the basil. First, I would just like to reiterate how pretty this plant became.
I know- it's a tad weird how proud I am of these three little herbs...

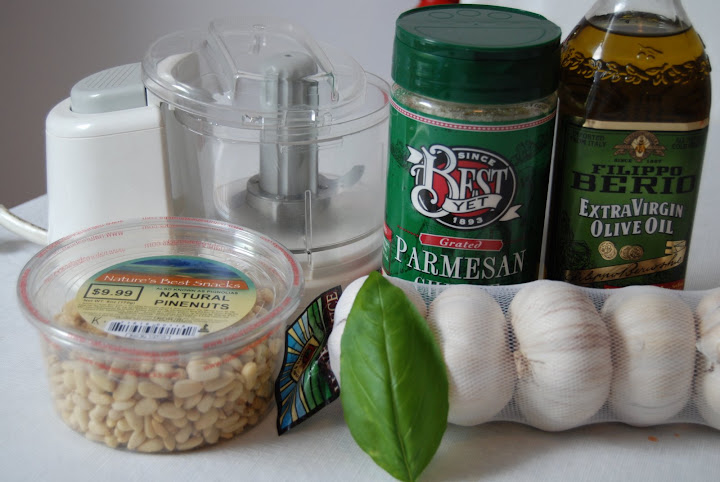
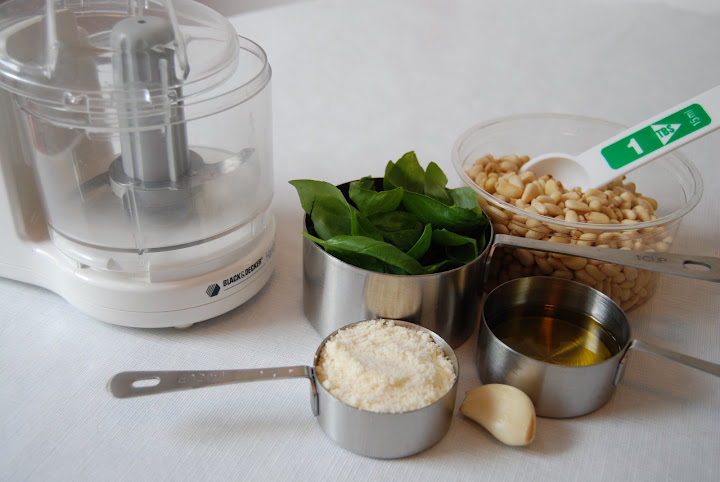
After I snipped the bigger leaves, I took the following ingredients and got to work. Can you guess where I'm going with this?
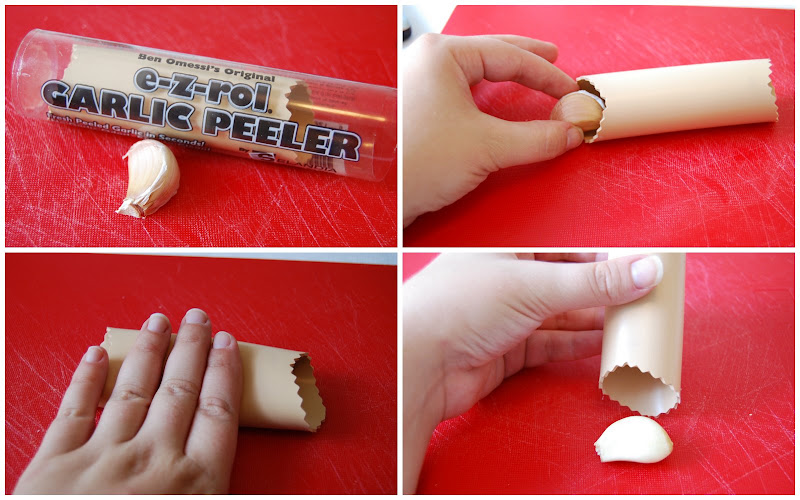
Before I go on, I just have to mention this. It makes peeling garlic SO simple... just insert the clove, role for a second or two, and out pops your peeled garlic!
But I digress... back to the task at hand- PESTO!
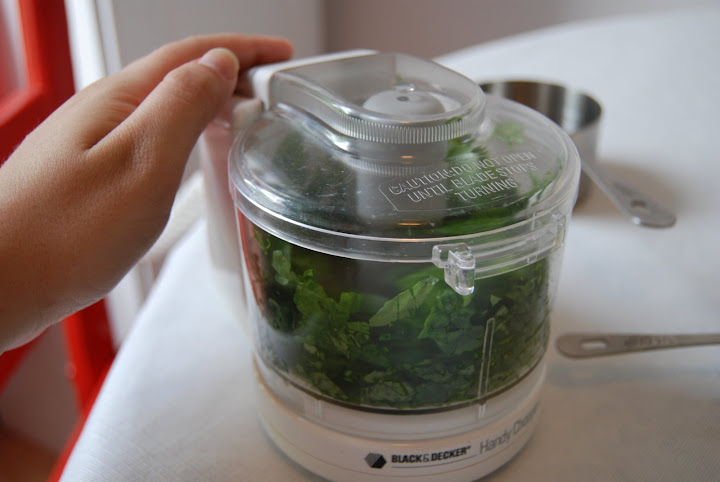
You may notice that I have a dainty little food processor. It's really cute, but it's capacity means that I have to make the original recipe in batches. First, I ground up the basil leaves.
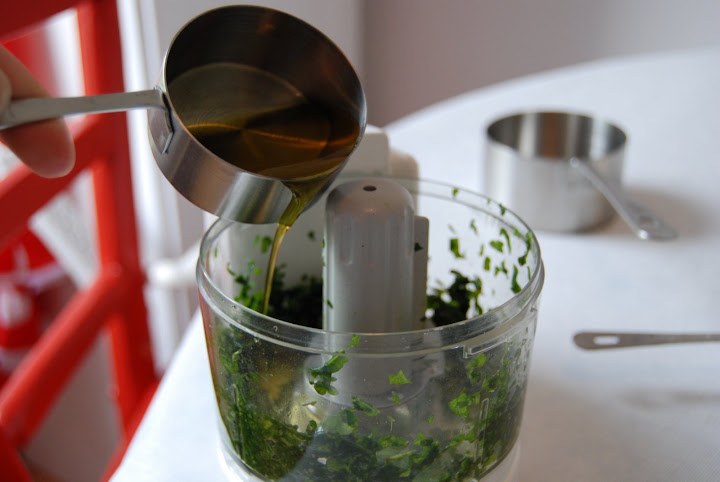
Then I slowly added the olive oil.
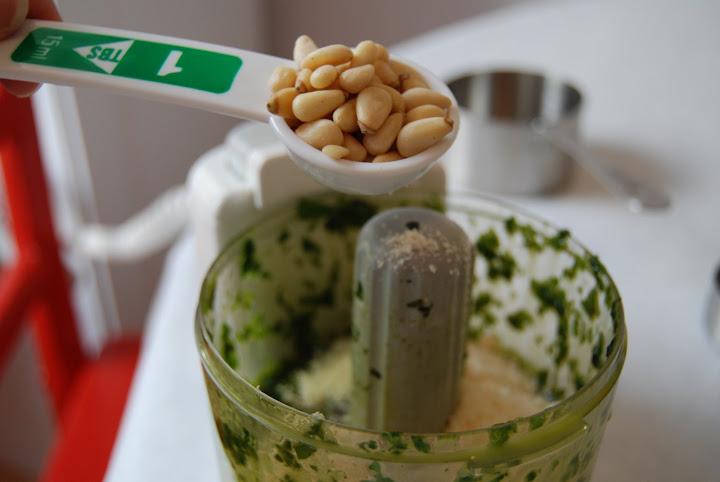
Then I added the pine nuts, parmesan, and garlic...
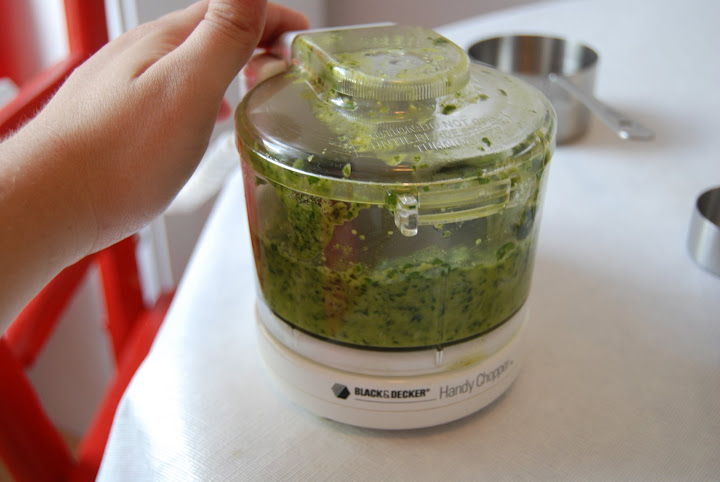
It was almost done!
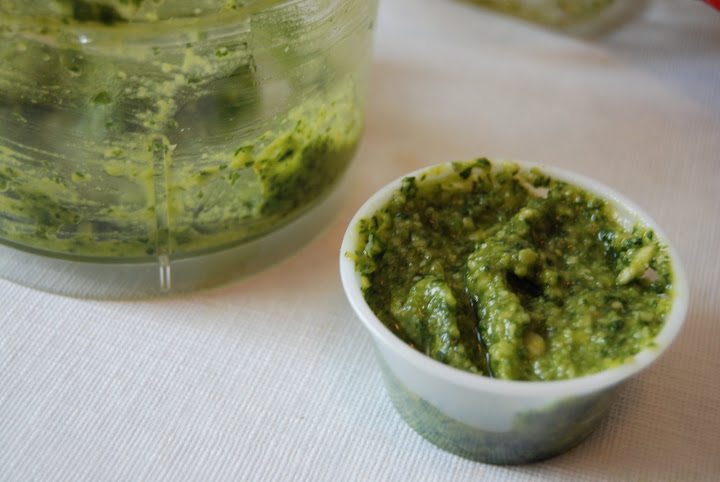
And there you are... homemade pesto!
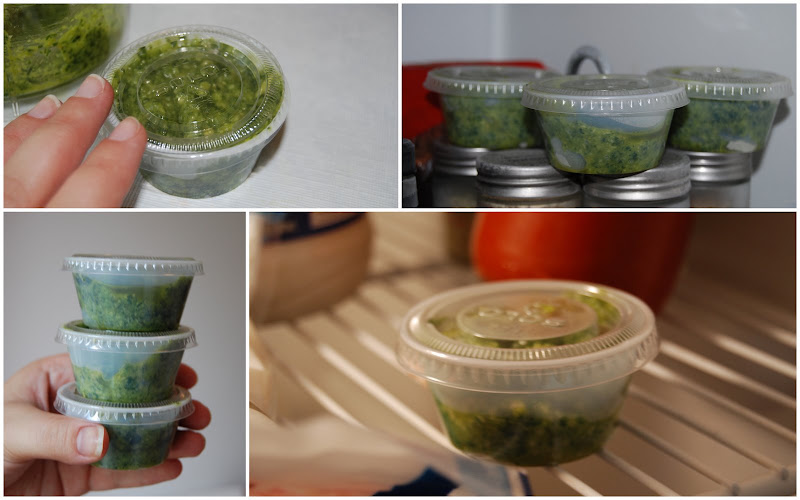
I was able to make 4 containers of pesto- 3 for the freezer and one for the fridge.
Here's the recipe, as created by my awesome parents.
HOMEMADE PESTO

Ingredients:
2 C loosely packed Basil leaves
1/3 C Olive Oil
2-3 cloves of garlic
1/2 C Grated Parmesan Cheese
2 T Pine Nuts

Directions:
Chop Basil in food processor until smooth. Slowly add oil and blend. Then add cheese, nuts, and garlic. Blend until smooth.
Keep two weeks in fridge or put into freezer for up to one year.
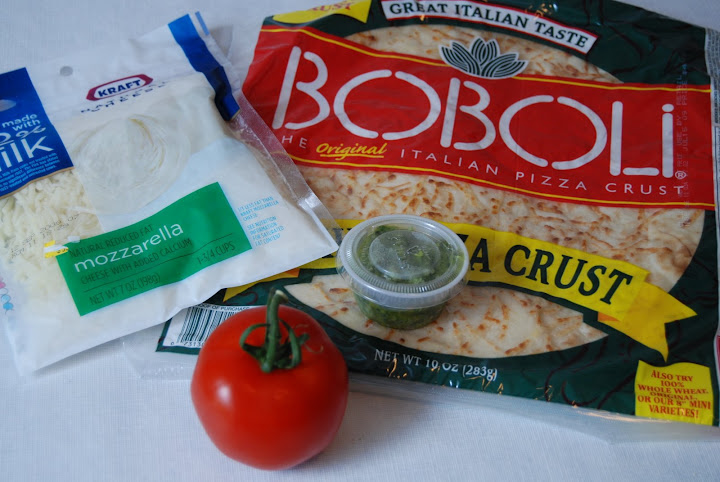
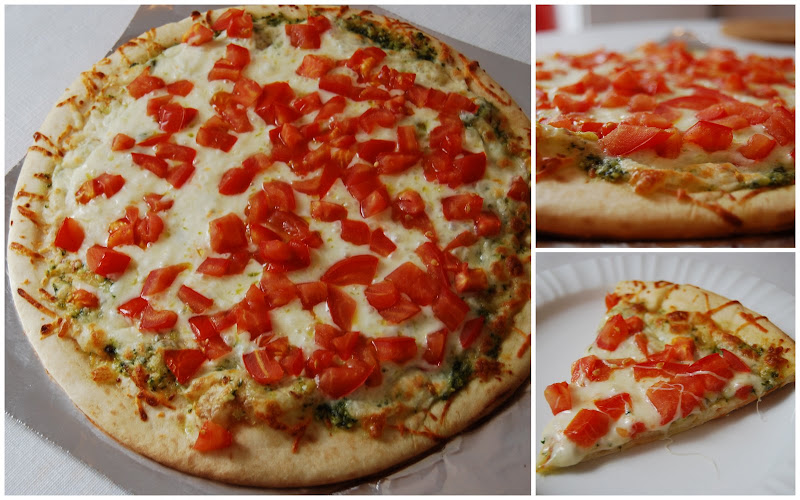
Pesto is delicious in so many ways- on pasta or sandwiches... but in my family we like it on pizza. It only takes a few simple ingredients to make a tasty dish.
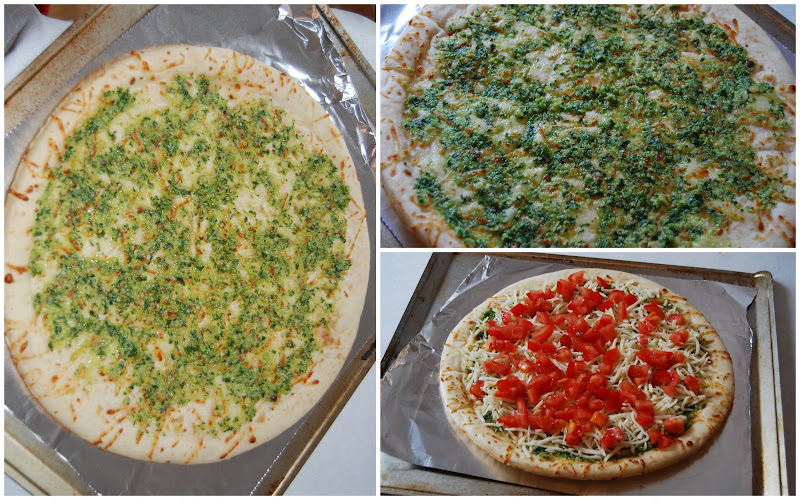
Just spread a container of pesto on a Boboli, add mozzerella, tomatoes, and bake according to the instructions on the package.
Yum, right?
As you can tell, I had a very fun weekend... I hope yours was the same!