Showing posts with label garden. Show all posts

Tuesday, September 6, 2011

Month of Macro: Spiky succulent

I know I've mentioned this before, but my brother has a really cool succulent garden at his place in Detroit.


Last time I was in town, he not only hooked me up with some cuttings from his plants, but he also took me to his "Succulent Guy" at the Detroit Eastern Market. (On a side-note, I love visiting the market and highly recommend it if you're in the area!)


The "Succulent Guy" sold me a bunch of plants for $1, and they were all SO cool. However, since I have the opposite of a green thumb, I was pretty convinced that they wouldn't last more than a week in NYC.


Lucky for me, they are all thriving!


And this weird little guy (I have no idea what he is) has been a blast to photograph with my new lens!


I can't wait until he gets even bigger (if I can keep him alive for that long)!


Thanks for stopping by- I hope you have a great day!

Tuesday, August 16, 2011

Fabulous fern

My brother is turning out to be quite the horticulturalist. Even though he lives amongst the high rises of downtown Detroit, he's cultivated quite an indoor oasis in terms of house plants. He has a beautiful collection of succulents and ferns that thrive under his care; every time I visit him I gaze in envy at his "garden."

So earlier this summer, when I visited my brother, he surprised me with a garden of my own, grown from cuttings of his plants! I was thrilled (as you can imagine) and couldn't wait to get back to NYC to plant them.

Of course, getting them here to the city meant somehow getting them into my luggage, which was no easy task. Luckily my brother is quite brilliant, and grew one of my cuttings in a sandwich bag, which made slipping it into my carry-on surprisingly simple.


See? I wasn't kidding! And while this sandwich bag was meant as a temporary solution, by the time the plant made it to my apartment, it was surviving so well that I didn't feel the urge to replant it. This went on for a couple of weeks, and then I started feeling really guilty that this poor little guy was struggling (quite successfully, I might add) in a plastic bag with no soil.

However, I also knew that he would only grow bigger, and I didn't want to invest a lot of money into a planter that he would outgrow in a few short months.


Enter: my recycling.


That's right- I did what any creative/cheap person would do: I looked around my apartment to see what I could re-purpose into a temporary planter that I wouldn't mind ruining in the process. Of course, this 'miracle' planter had to fulfill several requirements: I wanted something that I could drill/poke holes into to create drainage (so no glass/ceramic), and I wanted something that wouldn't rust/decompose (no cardboard, etc.). So I eventually turned to a can that until quite recently enclosed a handful of artichoke hearts.

The first step of my planter transformation had to do with the can itself. After I had removed the label and washed it with soap and water, I made my drainage holes. Using a can opener I inherited from my grandparents' kitchen, I punched 4 holes in the bottom of the can.


Since my can at one point had held a liquid substance, it was lined with a plastic-y coating, so I was pretty sure the can wouldn't rust from the inside. However, those little holes I poked and the exposed edge at the top seemed more susceptible to water and rust. So I grabbed a bottle of nail polish in a color I no longer wear...


And proceeded to seal the edges of the exposed can. (As you can see from this somewhat blurry photo, I painted the edge around the top of the can as well as the punched holes.) It's not the best paint job I've ever accomplished, but since most of it would be covered in soil, I decided not to sweat it!


Now, my brother's beautiful fern couldn't be planted in an ugly, old can! So I grabbed some paint, a foam brush, and sandpaper in order to transform my new planter.


I sanded the can a bit, so that my layers of white paint would adhere. I used regular craft paint (acrylic), but I'm sure there are special paints out there for metal surfaces that would be even better for a project like this. Once the base coat of white was dry, I used an old cork to dab abstract red dots all over the can.


And once the dots had dried, I planted that poor fern in as much soil as the can would hold...


And put it on display in a prominent corner of my little kitchen!


While it's not the most 'elegant' planter I've ever seen, it fits my aesthetic (and budget) quite well! And I think my little fern is much happier with his new home!


Thank you for stopping by- I hope you have a great day! (And SBV- thanks again for the plant!

Friday, July 8, 2011

Rhubarb Crisp

One of the things I like to do when I stay at my parents house is raid their garden. So when my mom suggested that I bake some Rhubarb Crisp for my dad, I was happy to oblige.
First, I walked out to one of their gardens...
Located the rhubarb plant...
And proceeded to slice some stalks from the plant.
(Even though the end of the stalks look pink, this particular plant is a Green Rhubarb, so the majority of the stalks are green.)
I then brought the stalks inside, and after a thorough washing, I chopped them up into little pieces. (Doesn't this look like a bowl of chopped celery?)
Then I added some brown sugar...
And cinnamon to the rhubarb, giving it a quick stir.
In a separate bowl, I made the crisp "topping" by combining butter, flour, cinnamon, nutmeg, brown sugar, and oatmeal with a pastry cutter.
After I stuffed a few ramekins with the rhubarb, I topped them with a generous helping of the crisp "topping".
Then I placed the ramekins on a baking sheet, and placed them in a pre-heated oven.
About half an hour later, I pulled these tasty dishes from the oven...
So my dad could help himself to individual portions of Rhubarb Crisp whenever he wanted it!
If you'd like to bake up this easy crisp, here's the recipe:
Rhubarb Crisp

Ingredients:
Rhubarb mixture:
Chopped rhubarb (enough to fill your desired baking dish)
3/4 cup brown sugar
1 Tbsp. cinnamon
Crisp topping:
1/2 cup brown sugar
1/2 cup flour
1/2 cup oats
3/4 tsp. cinnamon
3/4 tsp. nutmeg
1/3 cup butter, softened

Directions:
Clean and chop rhubarb, and mix with brown sugar and cinnamon. In a separate bowl, combine crisp topping with pastry cutter. Place rhubarb mixture in greased baking dish(es), and bake in pre-heated 375 degree oven for approximately 30 minutes, or until the rhubarb is tender and crisp is "bubbling". Serve with ice cream or Greek yogurt (my dad's preference).
As you might suspect,  Rhubarb Crisp is somewhat tart, so it's best served with ice cream or Greek yogurt (my dad's favorite).
Thanks for visiting- I hope you have a great weekend!

Wednesday, July 6, 2011

A walk through the flowers

The other day, I accompanied my mom on a trip to the local nursery.
We've been visiting Van Atta's for just about as long as I can remember, so I was happy to have the chance to stroll through their greenhouses.
Of course, being the camera-addicted person that I am, I took a few photos along the way.
So, care to join me on a tour through the greenhouse?
We had a great time at Van Atta's, and we ended up with a cart full of lovely blooms to add to my parents' garden!
Thanks for stopping by- I hope you have a great day!

Tuesday, August 24, 2010

"I went to a garden party..."

I absolutely love my new office- but the plain white walls are a little sad! So I've been searching through my old photos, looking for images to print and frame to add a bit of color to my little space.
And do you know what I noticed? I've taken so many pictures over the course of the last 3 years, some of them look completely new to me!
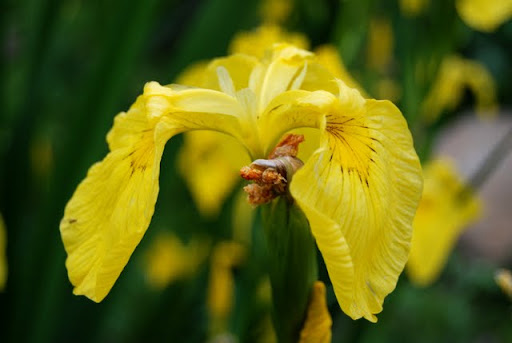
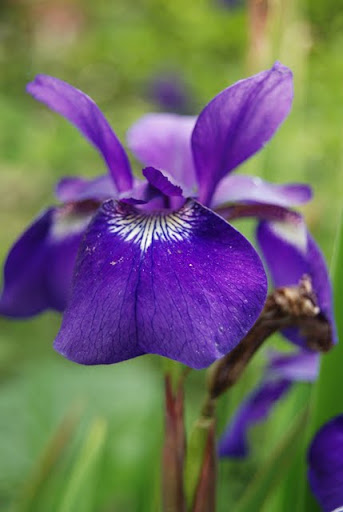
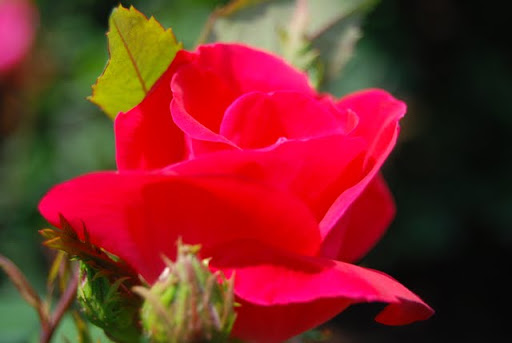
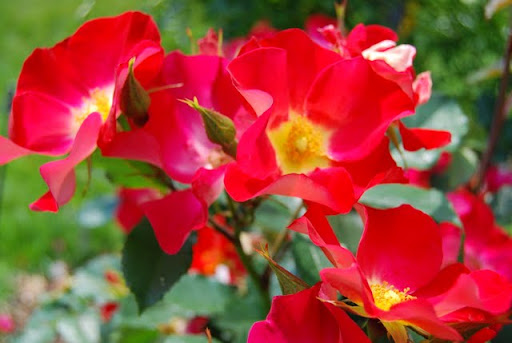
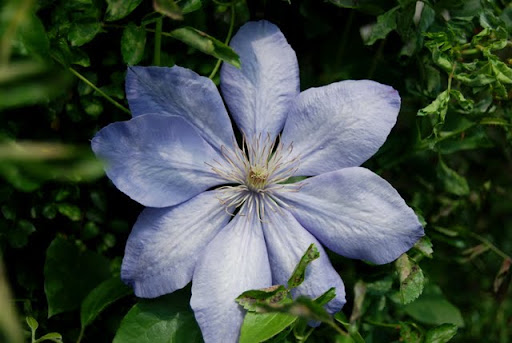
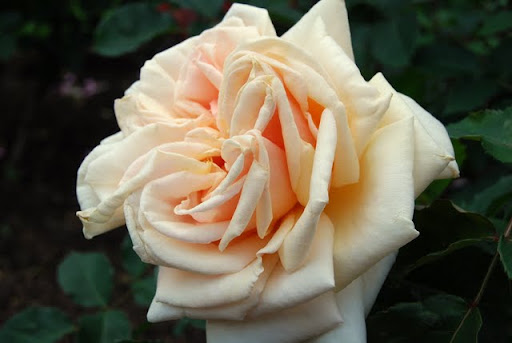
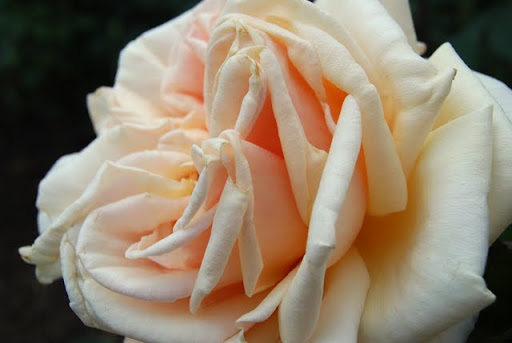
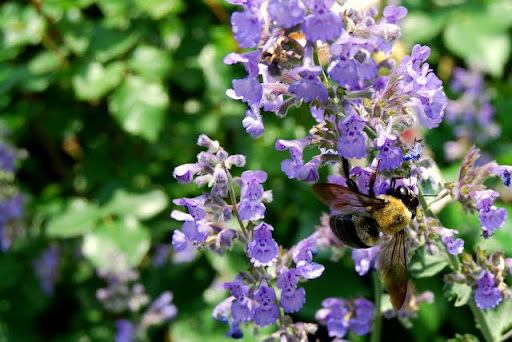
Take for instance this grouping of flowers- according to my archives I shot these over two years ago...
And yet I don't even recognize them!
Needless to say, I've enjoyed looking at some of my older "work"...
Even if it isn't quite what I was going for in my office.
(I think the images are just a little too Georgia O'Keeffe, don't you?)
Oh well- I'm sure I'll come up with something soon!
Thanks for visiting- I hope you have a great day!