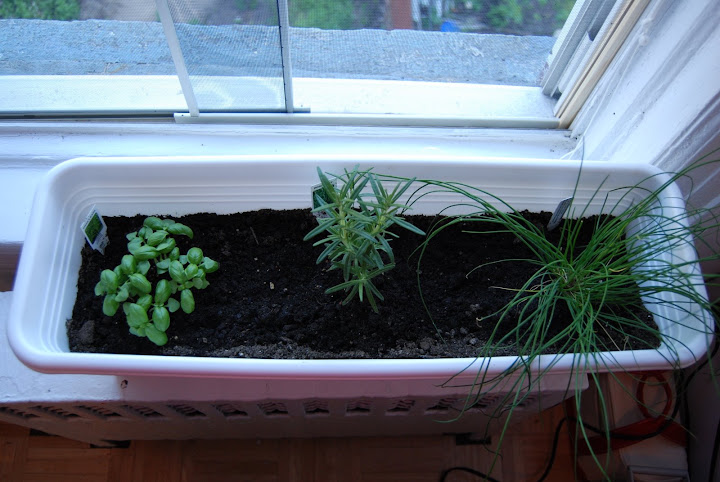
 You see, my mom recently told be about a blog she reads, ButterYum, and as I was looking through some older posts I saw this recipe for focaccia that I just had to try!
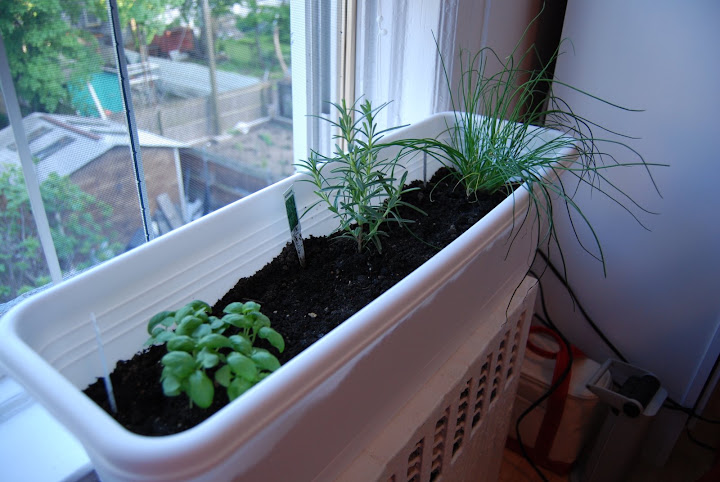
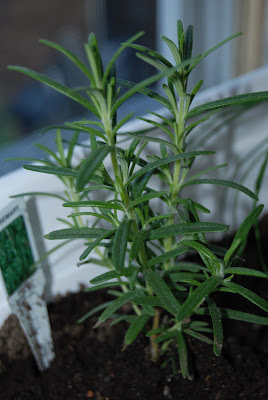
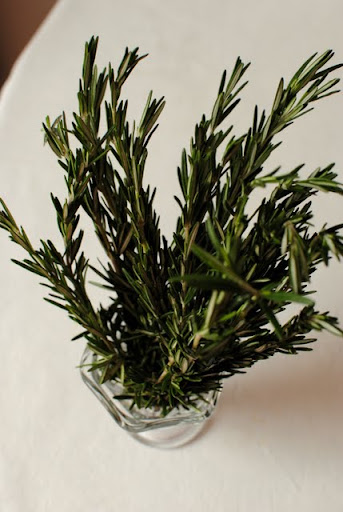
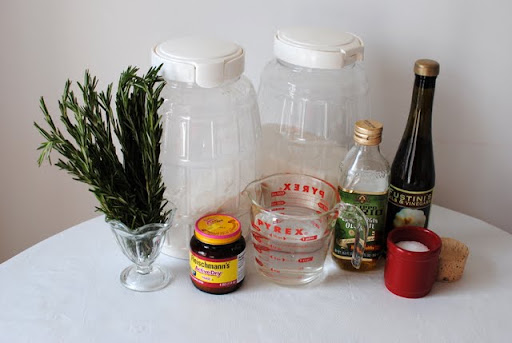
 But I wanted to make this bread special for the holidays, so I grabbed a bunch of rosemary...
 As well as the rest of the ingredients... and I got to work!
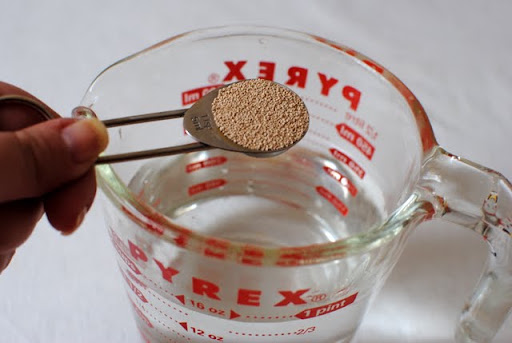
 I started by proofing the yeast in warm water...
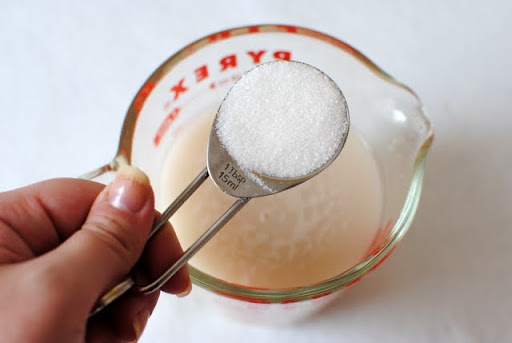
 Before adding a splash of sugar.
 While that started to "grow", I turned my attention to the olive oil.
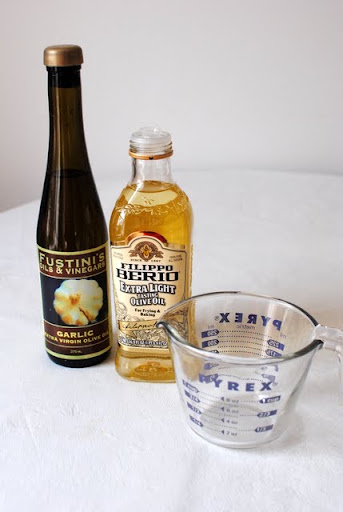 I used half regular extra virgin olive oil...
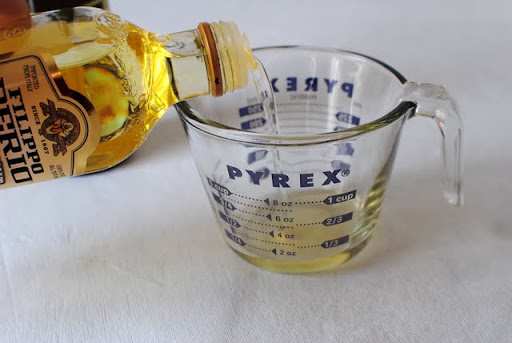 While the other half was garlic olive oil!
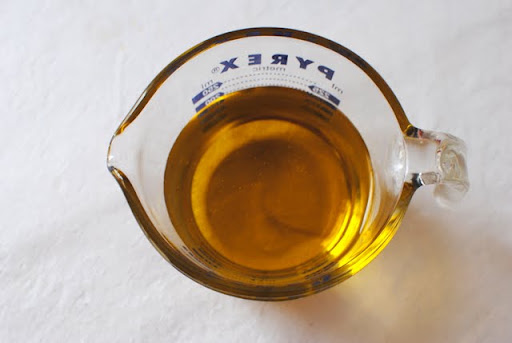
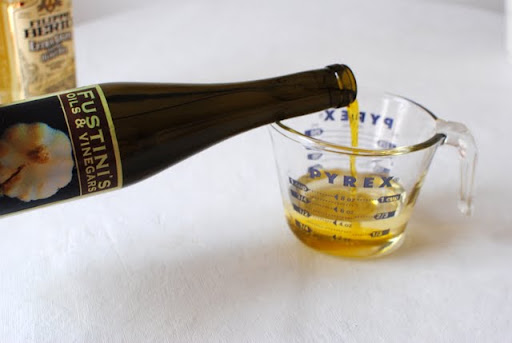 Isn't that so pretty?
 Then I turned my attention back to the mixer- I added what seemed like tons of flour...
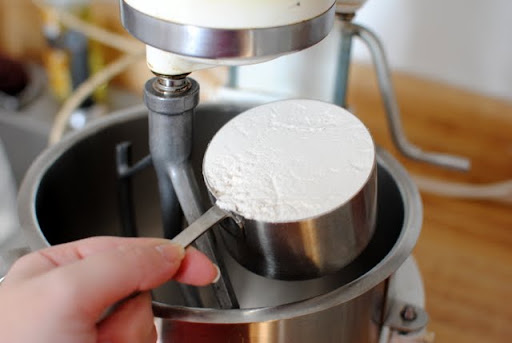 And salt...
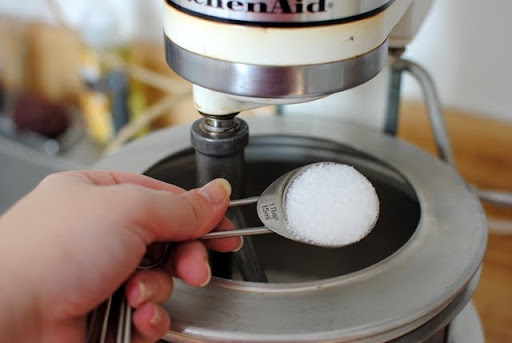 Plus the two liquids:
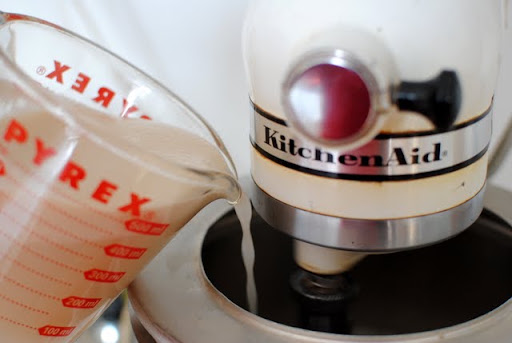
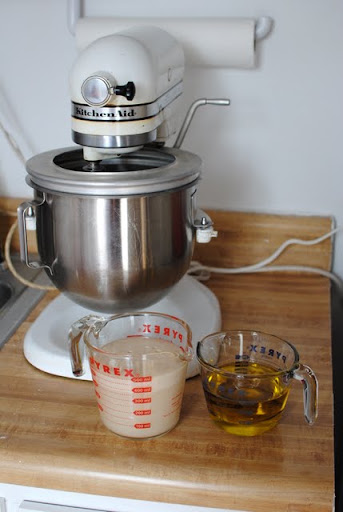 The yeast-water-sugar solution...
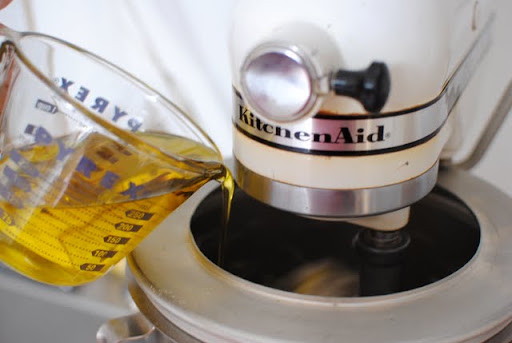
 And half of the olive oil mixture!
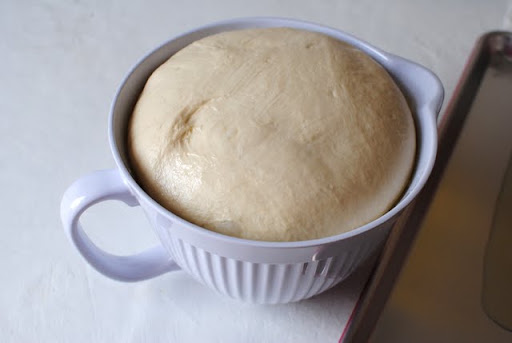
 After my poor little mixer worked its bottom off (I've got to purchase one of those fancy dough hooks), I had this lovely lump of dough. I promptly placed it into a greased bowl and set it in a warm place for an hour, covered with plastic wrap!
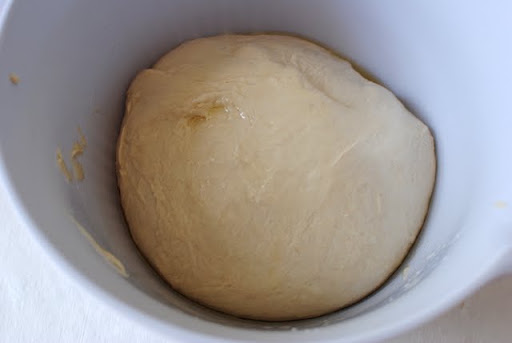 When an hour had passed, I removed the plastic...
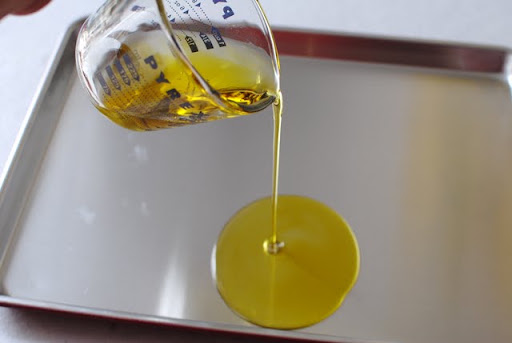
 Poured the remaining oil into a half sheet pan...
 And carefully plopped the dough out of the bowl.
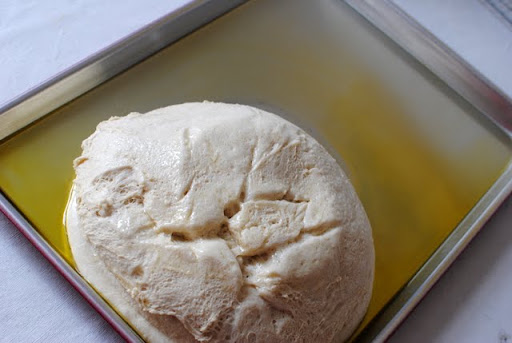 This next part was pretty greasy, so I couldn't take pictures. But I pressed my fingers into the dough, and spread them apart until the dough reached all four sides of the pan. When it was finished, I placed it back in a warm place (uncovered this time) for another hour to rise.
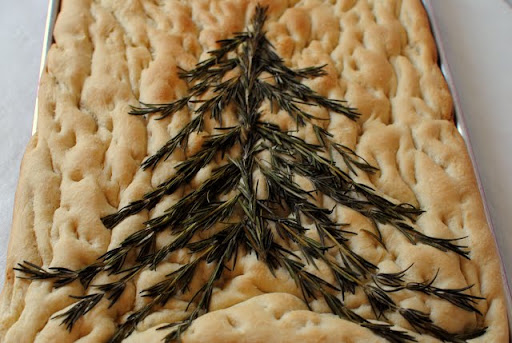
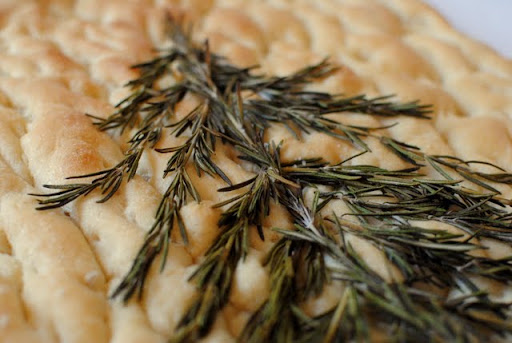
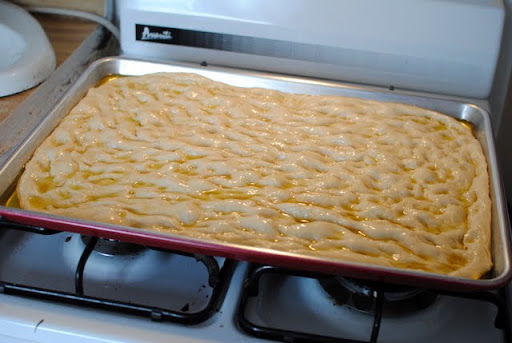 And after it had risen again, it was time to create a tree of rosemary.
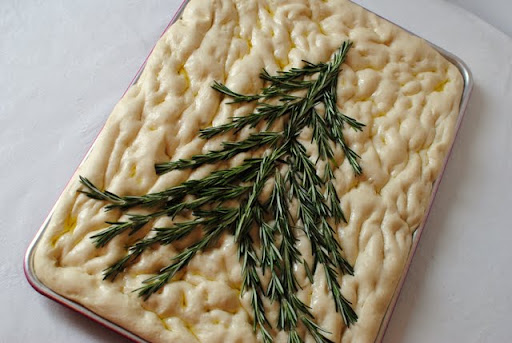
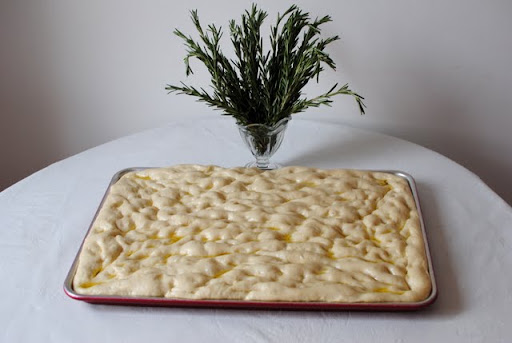 I just eyeballed it my snipping pieces of herb and placed them in the shape of a Christmas tree.
 And after about 25 minutes in the oven, I had a pan full of yummy bread to enjoy!
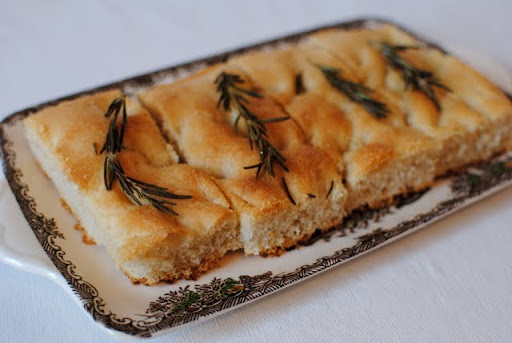
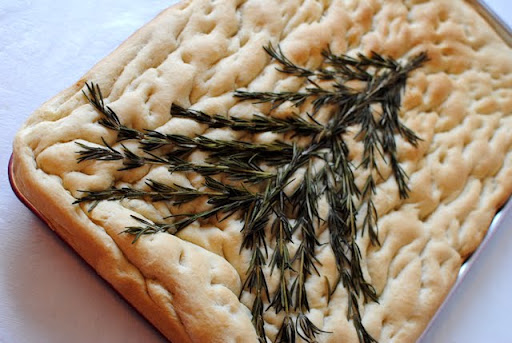 *You're probably asking yourself why one end of the bread is so much thicker than the other. You see, I purchased a brand new half sheet pan and was so excited to use it, I forgot to check to make sure it fit into my mini-sized oven! Of course it was an inch or so too big, so I did the only thing I could think of: I propped up one end using a cookie cutter. Some of the dough slid down to the lower end, hence the thicker end of the bread.
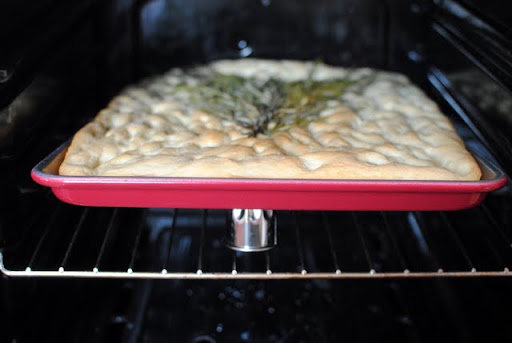 Oh well- it still tasted yummy!
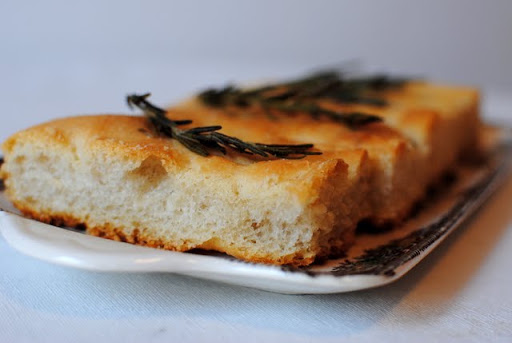
 And when it was all sliced up, you couldn't even tell!
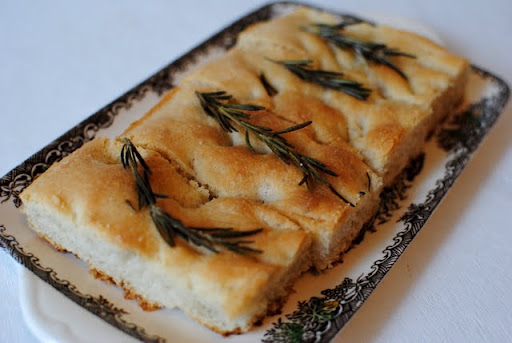 If this looks like something you're interested in trying at home, here's the recipe:
Festive Focaccia (based on a recipe by ButterYum)
1 3/4 cups warm water
2 1/4 teaspoons yeast
1 tablespoon sugar
5 cups all-purpose flour
1 tablespoon Kosher salt, plus more for garnish
3/4 cup extra virgin olive oil, divided (half EVOO and half garlic infused olive oil)
Directions: Proof the yeast by combining it with the water and sugar; stir to dissolve. Let it sit in a warm place until bubbly (about 15 minutes0. In the bowl of your stand mixer, combine the flour, salt, yeast mixture, and half of the olive oil mixture. Mix on low speed until ingredients are combined. Increase speed to medium and knead for 5-6 minutes until the dough becomes soft and smooth. Transfer the dough to a large oiled bowl; turning dough until it's well coated. Cover with plastic wrap and put in a warm place until dough has doubled in size (at least an hour). Coat a half sheet pan with the remaining olive oil mixture. Remove the plastic wrap from your risen dough, but don't intentionally "punch down" or deflate the risen dough. Gently pour the risen dough onto the prepared half sheet pan. Start pressing the dough into the pan, turn the dough over so both sides get coated with oil. Continue pressing the dough, stretching your fingers through the dough until they touch the pan. When the pressed into the pan completely, set the pan aside in a warm place for the dough to rise a second time, uncovered, for about an hour. Preheat oven to 425F. After the dough has risen a second time, drizzle lightly with extra virgin olive oil and sprinkle liberally with coarse sea salt or kosher salt. Bake for 25-30 minutes until the top is golden brown.
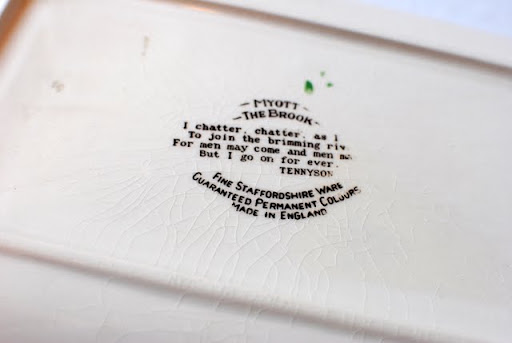
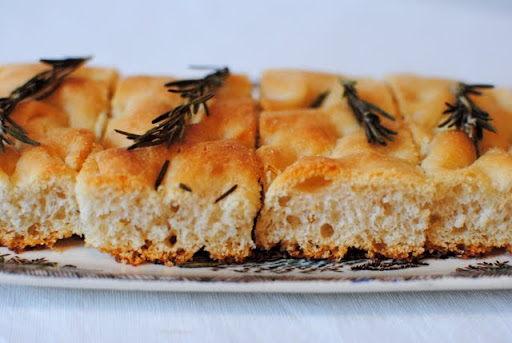 Oh- and before I go, I just have to show you this lovely little dish I used to photograph the bread.
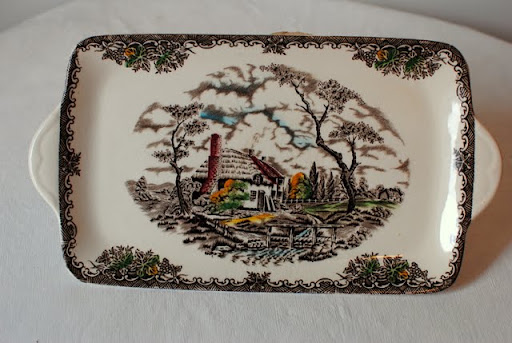 Not only is it pretty, it has this sweet little verse stamped on the back!
 Ok- that's really it! I hope you enjoyed this tutorial for Festive Focaccia as much as I enjoyed making it!
 Thank you for visiting- I hope you had a great weekend!