Showing posts with label paint. Show all posts

Thursday, September 15, 2011

Month of Macro: Art project

I made a little art project the other day...


Featuring my favorite state (my home-state of Michigan).


I am by no means an artist...


But I did get a kick out of taking photos of my handiwork after the fact. I was trying so hard to paint smoothly, but as these photos show, I still have a lot of work to do!


But you can't tell from a normal distance, so that's good!


Thanks for stopping by- I hope you have a great day!

Tuesday, April 12, 2011

It's a wrap...

Don't you just love to buy presents for the people you love? I have so much fun finding and selecting the perfect gifts for certain people in my life. And what better way to present the perfect gift to your loved one than wrapped in hand-decorated paper?
I wanted to make a present extra special the other day, so using a few items I had in my house I set about to decorate my own wrapping paper. I started with a role of plain paper, paint, sponges, a marker and some scissors.
You can probably tell where I'm going with this: I decided to sponge paint the paper. I drew some shapes on the sponges...
And cut the out using my scissors. (I wanted to go for a bold, abstract design, so I decided that the more rudimentary shapes were more to my liking.)
When I had the shape just right, I slathered the sponge piece in paint...
And pressed it to the wrapping paper. And after a few more pressings...
I had a sweet, rustic flower shape.
And while the paper looked okay with just the flowers, I couldn't stop there.
So I cut up some more sponge, only this time I used green paint...
And I added some leaves to my flowers!
Of course, what's a flower, or in my case a daisy, without a center (or, as wikipedia tells me: disc florets)? I couldn't cut the sponge into a circle very well, so I resorts to an old wine bottle cork I had lying around.
And a few dabs later (with a lovely, sunny yellow paint), my wrapping paper was complete.
After the paint had dried, I used it to wrap up a couple of very important presents.
I love how the texture of the sponge comes across in these prints.
I also love all the color that these big, bold flowers add to my gift!
So there you have it- a very inexpensive and fun way to personalize the perfect gift: hand-decorated wrapping paper!
Thanks for visiting- I hope you have a great day!

Tuesday, March 15, 2011

Green garland... that's green!

With St. Paddy's Day just around the corner, I wanted to give my house an extra shot of "green". And since I'm on a roll re-using discarded items for decorations (hello business card garland)... I thought I'd try it again this month! So here's a tutorial on my Green (or eco-friendly) Garland!

So, I took the paper towel and toilet paper tubes I'd been saving, and cut them into small rings.

Then I pulled some green and white paint from the shelf an got to work.

A while later (and after inadvertently painting my hand in the process)...

I had a whole pile of green rings ready for a project.

Then I grabbed a long piece of string and threaded the rings into a garland.

The greens and white were subtle, and they added a great tweak of color to my kitchen window.

And because the rolls were different sizes, the rings weren't all the same... so as I threaded them onto the string they twisted and turned into a really interesting (yet slightly cooky) shape! I kind of liked it, and decided it was an unexpected way to hang garland!

So now I have a little touch of green all ready for St. Paddy's Day (which is must easier to photography when there isn't so much back light, I promise)!

Thanks for visiting- I hope you have a great day!!

Friday, October 8, 2010

Practice makes perfect

I want to become a better painter!
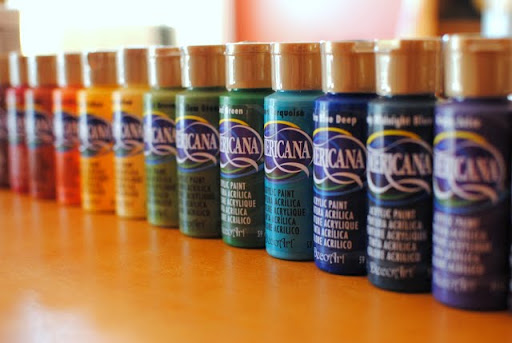
It's true- I'm not very good at the moment! Both of my parents can paint beautifully and I desperately want to learn that skill. But there's no way I'm going to improve without a little practice, right? So the other day I picked up some supplies and applied the old adage: practice makes perfect!
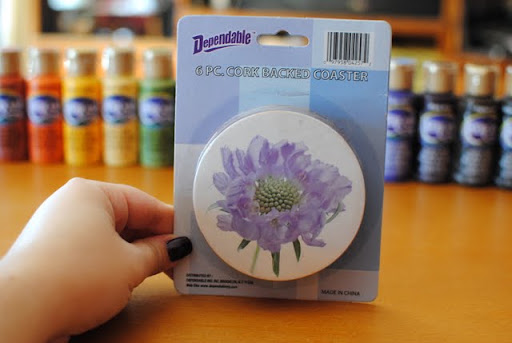
Now, I know myself well enough to know that I accomplish a lot more with a project in mind. So I grabbed some coasters at my local dollar store with the idea that I could make my living room a little more festive for the coming holiday.
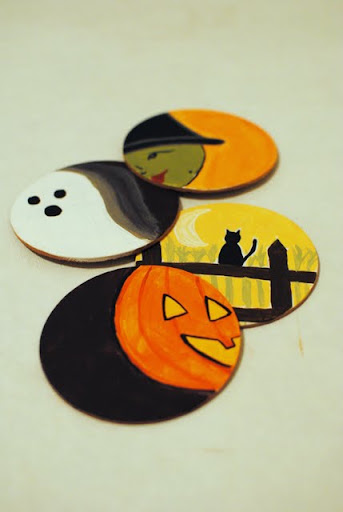
And a short while later, I had a nice little stack of Halloween-themed coasters for my end table. (Though I would like to point out that there were six coasters in the package and only four are photographed below- the other two did not warrant a permanent place on the internet!)
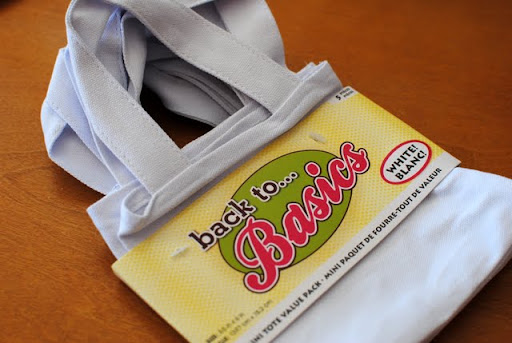
After that practice, I wanted to try painting on fabric. So I picked up a package of these cute little bags and got to work.
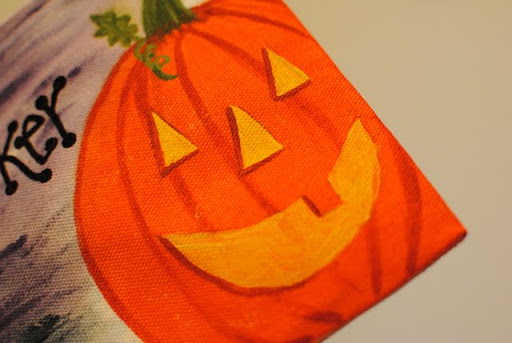
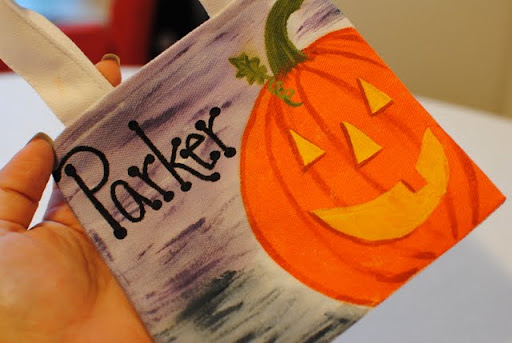
See? (Oh- and have you picked up on my "trick"? I like to paint a portion of an object, because I don't have to contend with symmetry problems and there's way less room for error!)
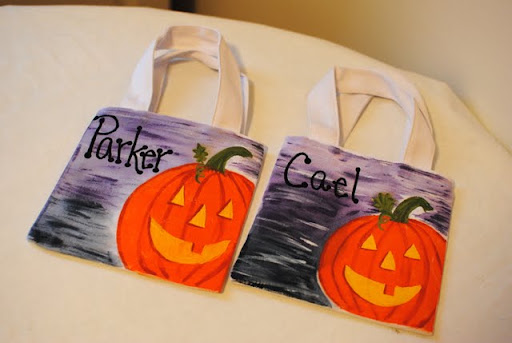
Want to see the finished product? I painted these little bags for the newest members of our family.
And while I have a lot to improve upon in terms of painting skill, I sure am having fun during the learning process!
Thank you for stopping by- I hope you have a great weekend!

Friday, August 27, 2010

Refurbishing with the 'rents!

As I mentioned yesterday, my parents taught me everything I know about crafty renovations- and their work has spanned decades. So when my folks told me that they were re-doing our pie safe, I couldn't wait to share the process on this blog!

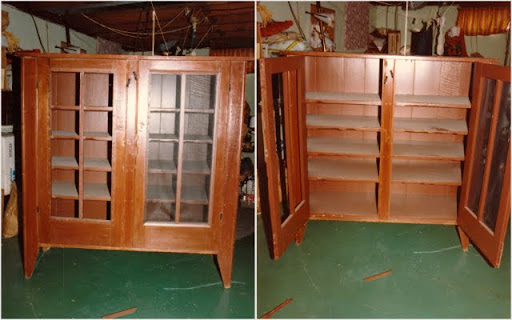
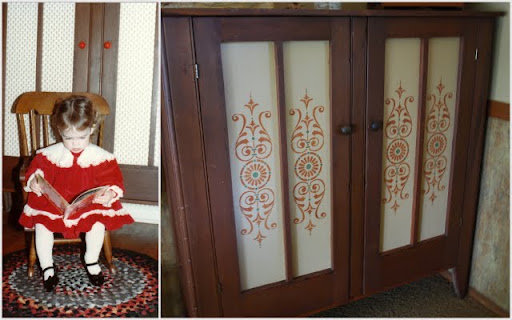
Let me take you to the very beginning: in the early 1980's, my folks purchased this antique pie safe. It was certainly a little rough around the edges, but with some hard work and creativity, my folks turned it into a lovely little wardrobe...
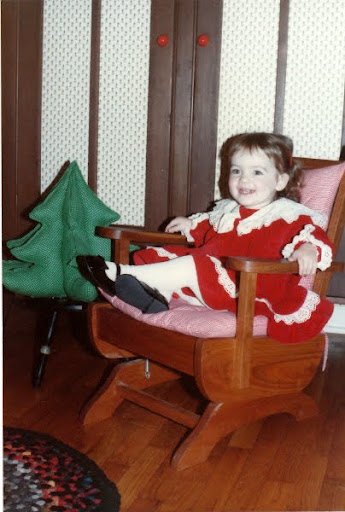
For me! See the piece of furniture in the background? That old pie safe became my armoire, and I have very vivid memories of lots of OshKosh B'gosh corduroy overalls hanging inside when I was younger!
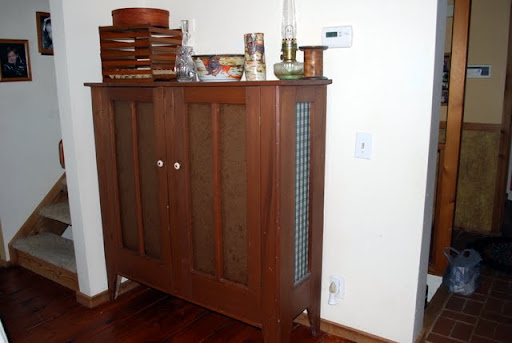
As you can probably assume, my attire eventually outgrew the pie safe, and it was re-purposed as a video/DVD cabinet which stood in the corner of our family's living room for the better part of my life. But earlier this year my folks decided to redecorate, which meant that the pie safe needed an update... here's how they did it:
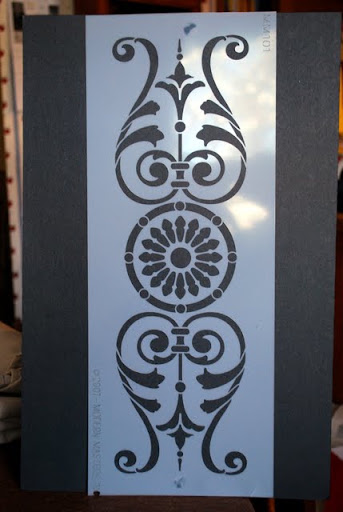
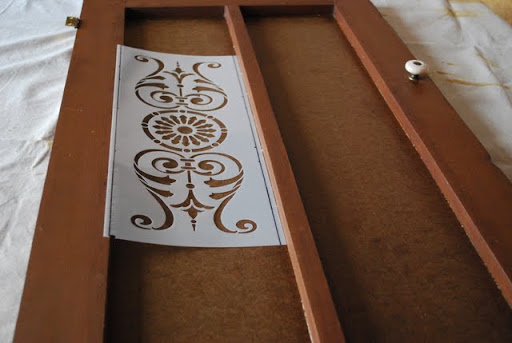
My mom began by finding the perfect stencil.
After removing the doors and panels...
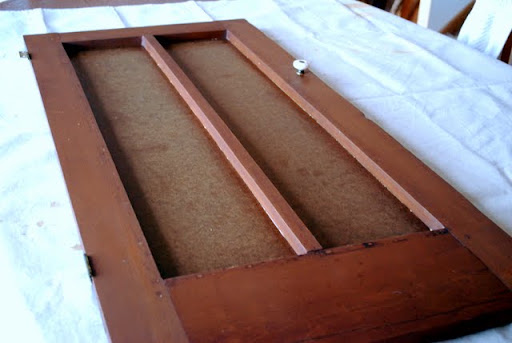
She planned the design.
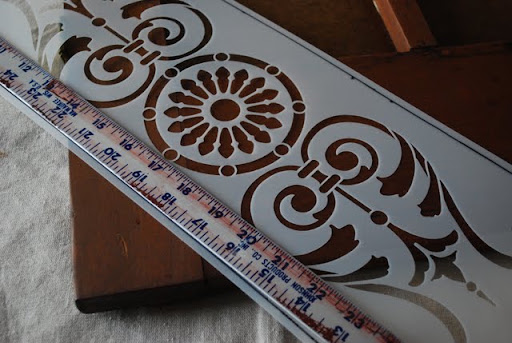
(Just looking at this photo makes me think of all the craft projects I did growing up using that same ruler... doesn't it look well loved?)
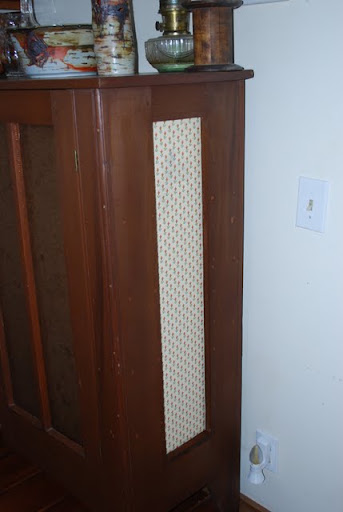
As my dad was removing the pie safe panels, he unearthed a bit of the wallpaper they had used when they first refinished the pie safe for my childhood bedroom. (On a side note, when I was little I used to stare at those tiny flowers until my eyes crossed and the pattern started to move... have you ever done that?)
But back to the project- after the doors were removed my folks prepped the panels and painted them.
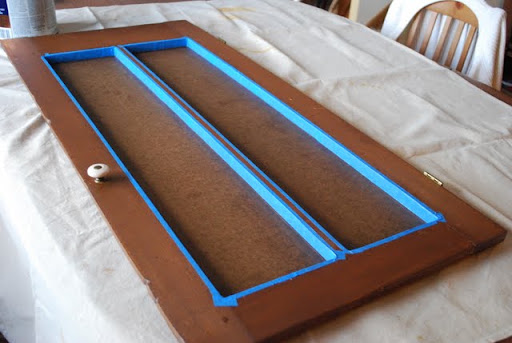
My mom then prepared the stencil...
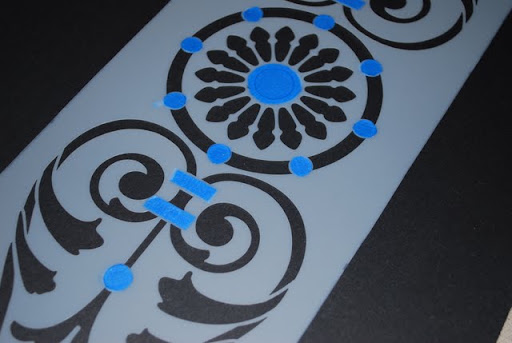
Before getting out her brushes and getting to work!
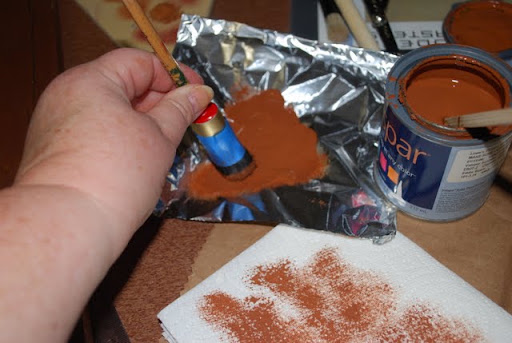
(I have to tell you- my mom is a very good stenciller!)
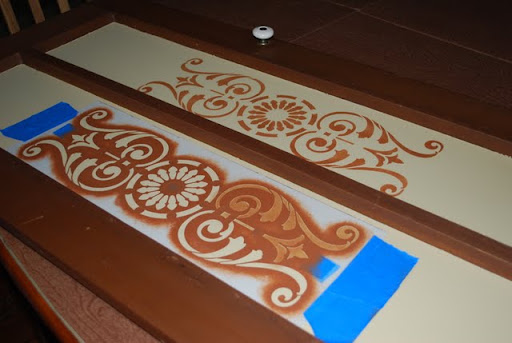
See her excellent form? I remember trying to copy the way she held a stippling brush when I was younger but I could never quite master it... maybe someday...
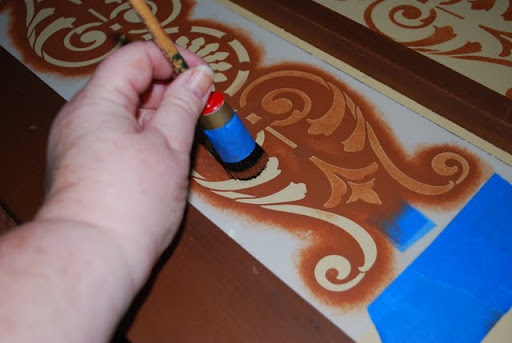
After she finished the first color, she reveled the rest of the stencil and switched to the accent color.
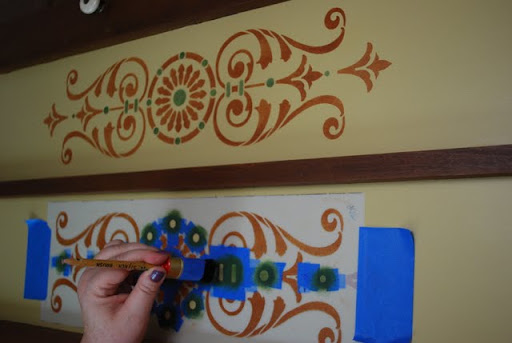
And before you know it, she was finished and my dad had reassembled the pie safe...
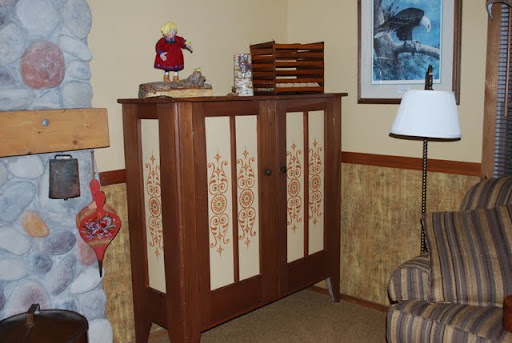
Doesn't it look perfect in their living room?
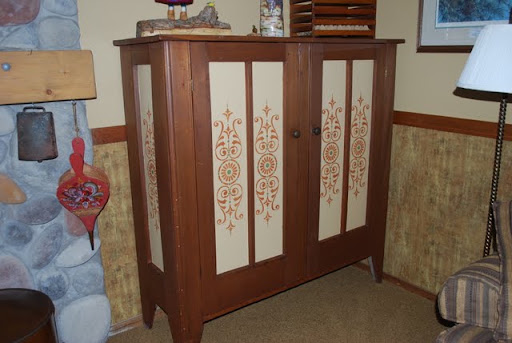
Our pie safe sure has come a long way, thanks to my very creative parents! I love knowing that this piece of furniture has been a part of our family for so long- and I can't wait to see how it changes over the next 20 years!
Thank you for stopping by- I hope you have a great weekend!