Showing posts with label canning. Show all posts

Friday, August 12, 2011

Totally tomatoes!

Earlier this summer, I completed my first "solo" canning experience (under the helpful eye of my mom). And you know what? I really liked it!


So with tomatoes coming into season, my mom suggested I try my hand at another canning venture...


SALSA!!


I was pretty excited about the prospect... but unlike the last time, this canning experience would take place in my NYC kitchen. For those of you who have visited me, you know that my kitchen is "cozy" and "modest", both terms that brokers here use to make tiny kitchens sound nicer!

So after lots of phone calls home asking every possible question I could think of, not to mention a package from the midwest full of canning tools and a nice new canning pot, I was ready to make my salsa! 

So I gathered up my ingredients: tomatoes, salsa seasoning and vinegar!


Then I set up my canning stations. With very little counter space available, along with a mini-stove, I had to be pretty organized to ensure that I had the space and heat sources available for everything I needed.


I started by blanching the tomatoes. After 1 minute in boiling water...


I dropped them into a bowl of ice water.


This easy step makes the skin slide right off the tomato. Then I took that funny looking tool and dug the stem right out of the fruit before tossing it into my food processor.


I prefer salsa with a few lumps, so I chose to process some of the tomatoes while I diced the rest by hand.


I poured the 10 cups of tomatoes into my soup pot along with the salsa seasoning...


And a half cup of white vinegar before heating the mixture until it boiled.


While the salsa heated, I also boiled some canning jars and lids. Once the salsa was boiling I pulled a jar from the pot...


Placed a funnel in the mouth of the jar...


And ladled the piping hot salsa into the jar, taking care to leave about half an inch empty at the top.


Once I wiped the lip of the jar to ensure that there wasn't any tomato residue that might have prevented the sealing, I placed a lid on the rim and screwed on the ring to secure the lid.


When I had finished canning a double batch of the salsa I was very proud of two facts:

#1: All 10 pints of my salsa "popped" (which meant that they ALL sealed)
#2: I was able to take photos during my canning, which is a pretty fast and stressful process for a newbie canner like me

Oh- and to top it all off, the salsa tastes great! (We really like the Mrs. Wages seasoning brand in our family!)


So if you're ever interested in canning salsa, you should pick up a packet or two of Salsa Seasoning- it's delicious, and the canning recipe is included on the back of the package!


Thanks for stopping by and joining me in this little canning adventure- I hope you have a great weekend!

Tuesday, July 5, 2011

Can you can? I can now!

My parents have canned things as long as I can remember. I sometimes helped when I was younger (by "helping" to peel peaches but really just making more of a mess, etc.), but this summer I wanted to get some real canning experience under my belt!
And since strawberry season is just wrapping up here in Michigan, I made some Strawberry Jam.
I started with a half tray of these tasty berries, which were picked by hand at a local farm...
And turned them into over twenty jars of the canned goodness!
Strawberry jam doesn't require too many ingredients: just strawberries, sugar, and Certo (which is our family's preferred brand of pectin).
Before I started on the strawberries, I made sure that the jam jars were nice and clean...
Before placing them in a pot of water to boil.
And in a separate pot I boiled the rings and lids.
Then I turned my attention to the strawberries. I rinsed them...
And hulled them...
Before adding them to the food processor.
I like my jam to have a few chunks of strawberries every now and then, so I chose to pulse the processor until I reached my desired consistency. Working in batches, I crushed the berries until I had exactly 4 cups.
Then I added the berries to a pot on the stove and added the sugar. After the mixture had reached a rolling boil, I added the Certo (pectin), and let the mixture boil for another minute.
Once the strawberry mixture was ready, I poured it into the boiled jars. My mom helped and wiped down the rims before adding the lid and screwing on the ring. This process must be done quickly in order to ensure that the cans seal, so I don't have any photos of the process... sorry!
However, I am thrilled to report that we worked fast enough so that all of my cans sealed (yay), and I have enough strawberry jam to last me quite a while.
I must admit- I still have a long way to go until I'll feel like a "real canner", but I'm getting there (and many thanks to my mom for her patience and expertise!).
If you'd like to make this jam, here's the recipe:
Strawberry Jam
Ingredients:
4 cups crushed strawberries
7 cups sugar
1 pouch of Certo (pectin)

Directions:
Clean and hull fresh strawberries. Using a food processor, crush strawberries and measure according to recipe. Heat strawberries and sugar on stove until boiling. Add pectin, and boil for an additional minute. Pour into sterilized canning jars, make sure rim is clean, and seal with lids.
Thanks for stopping by- I hope you have a great day!

Tuesday, October 26, 2010

Wanna get pickled?

Here's another awesome guest-post from my mom!

It's that time of year for harvesting, freezing, and of course, canning! Every fall I like to make pickled beets, they remind me of my grandmother. We called her Mere. And no, she wasn't French- she was born in England. She just thought a French name was very romantic. She was a wonderful Grandmother; she always told me that I was her favorite grand daughter. And, yes, I was her only grand daughter! Anyway, back to the beets...they are so delicious: a bit sweet and a bit tangy. Mere taught me that they need to be a little bit sweeter than tangy. I listened and my family is so glad that I did.

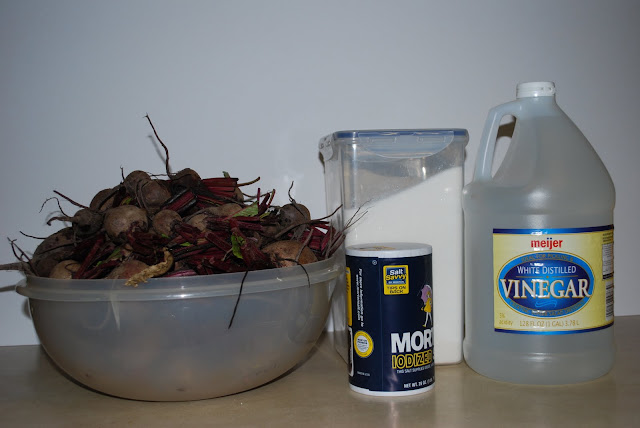
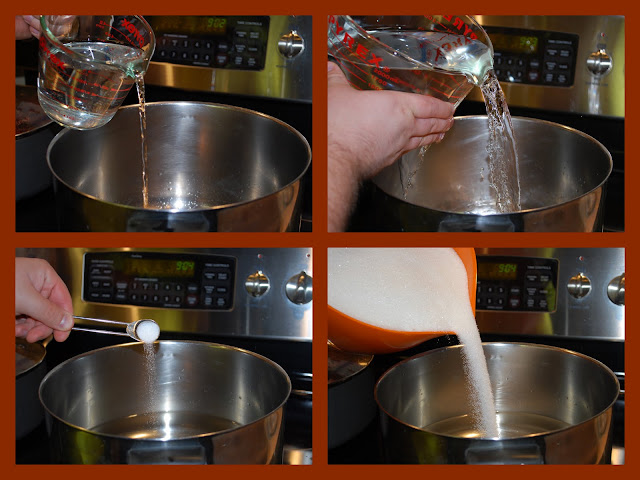
The ingredients are simple- lots of beets, lots of sugar and vinegar, and a tiny bit of salt.

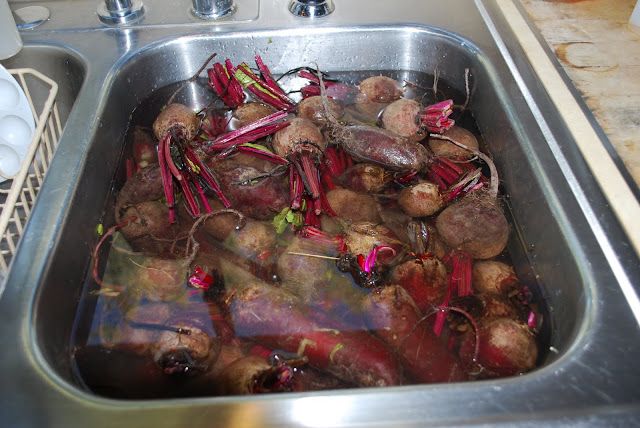
I usually fill my sink with cold water and dump the beets in to wash them. Since these are a root vegetables, they need a bit of scrubbing with a brush.

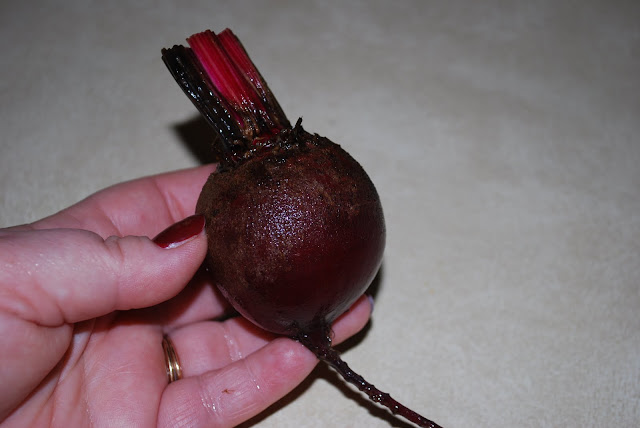
Make sure to leave the long root in place and only cut the stems back to 2-3 inches. This will keep the beet "juice" in the beet while it is cooked.

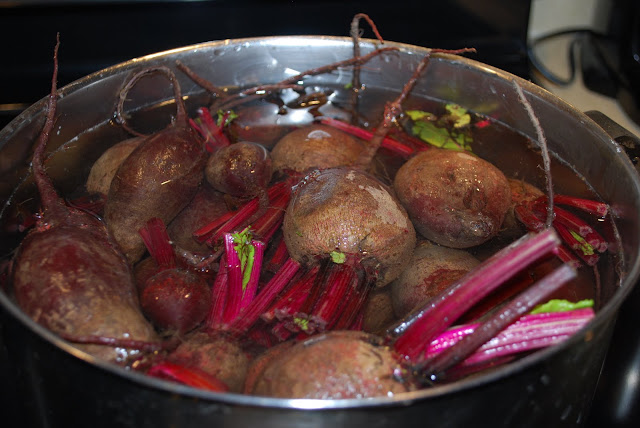
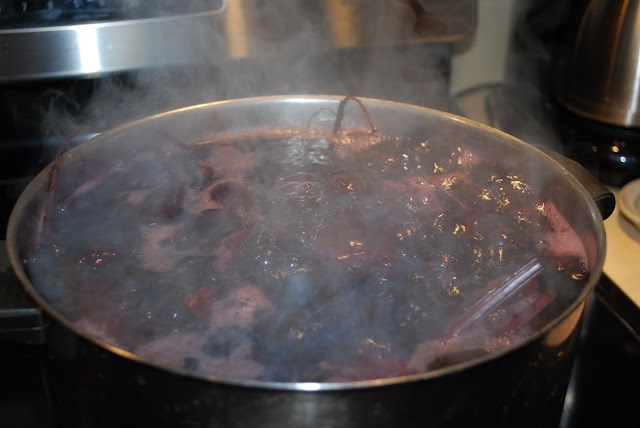
Place the cleaned and trimmed beets in a large pot to boil. Boil the beets until they are knife tender.

I hope you like the smell of boiling beets, it smells like fall to me. Yum!

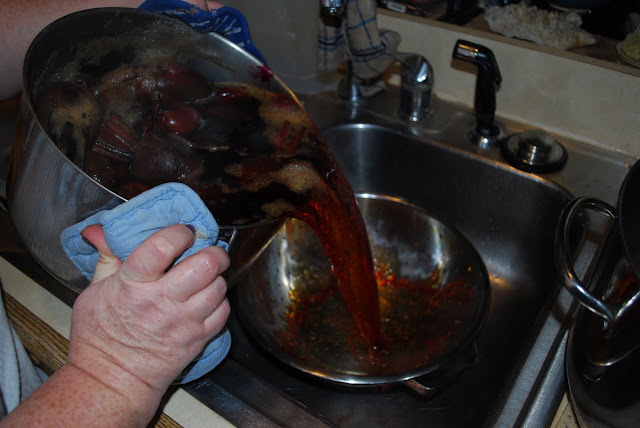
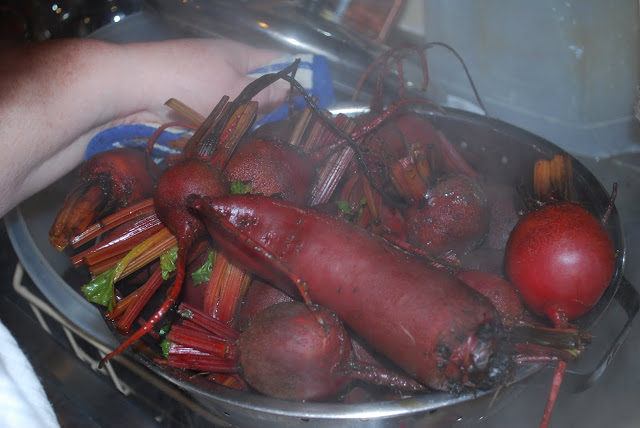
Pour the beets into a colander.

And, yes these beets were from different sources and had quite a variety of shapes.

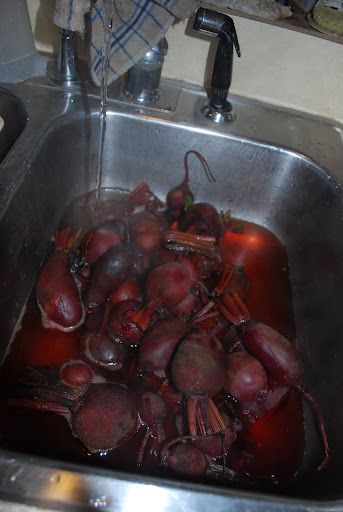
Again, pour the beets into a clean kitchen sink and fill the sink with cold water.

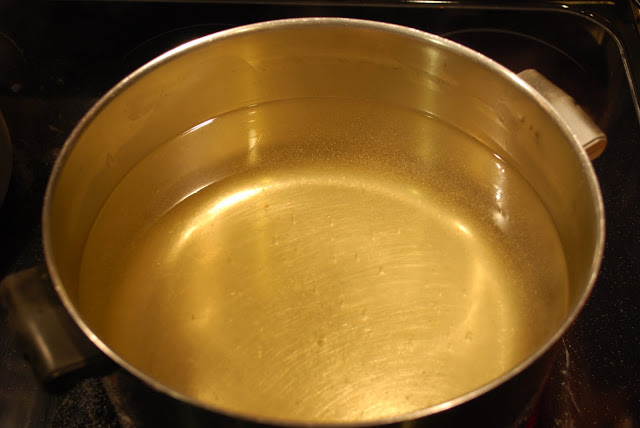
While the beets are cooling down enough to handle (in the sink), you can begin making the "sauce". I usually double or triple the recipe so I know I will have enough to cover the beets in the jars. It is hard to judge how many pints of beets you will have because of the variety of shapes of the beets. So, have plenty of "sauce" ready. For one recipe: Add 3 C of vinegar, 5 C of sugar, 1 C of water, and 1/2 tsp. of salt to a large pot. You will be adding the sliced beets to the pot, so leave plenty of room. (For the above batch of beets, I tripled the recipe) Bring the sauce to a boil. By the way the "hairy" arm isn't mine...my son helped!
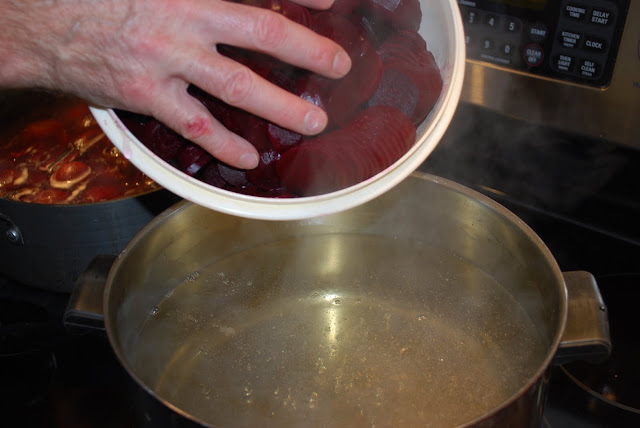
When the sauce is clear and boiling, add the sliced beets.

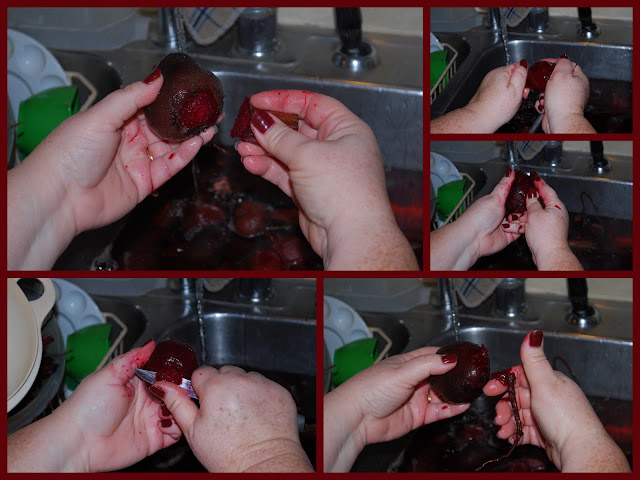
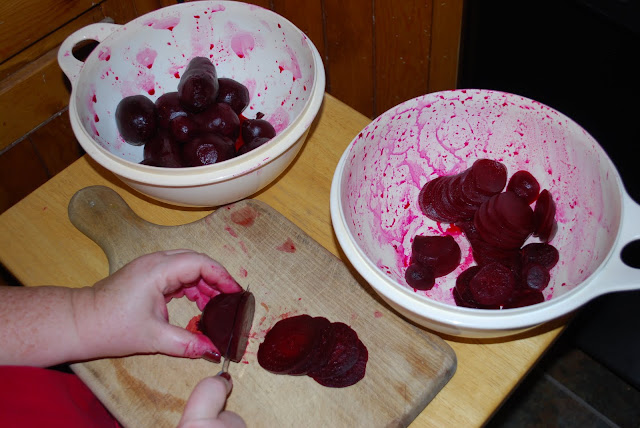
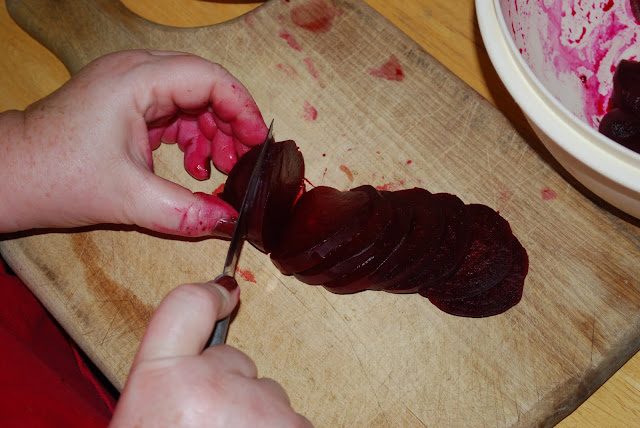
Peeling the beets is amazingly easy. Just pull off the stem, then pull off the root and the beet skin will slide right off with a little pressure. If there is a blemish on the skin, you may need to slice that part off with a knife. After peeling the beets, place them in a bowl ready to slice.

Try to slice the beets uniformly.

Once the beets are peeled and sliced, add them to the boiling sauce. Be careful not to splash yourself. (This "hairy" arm belongs to my husband!)

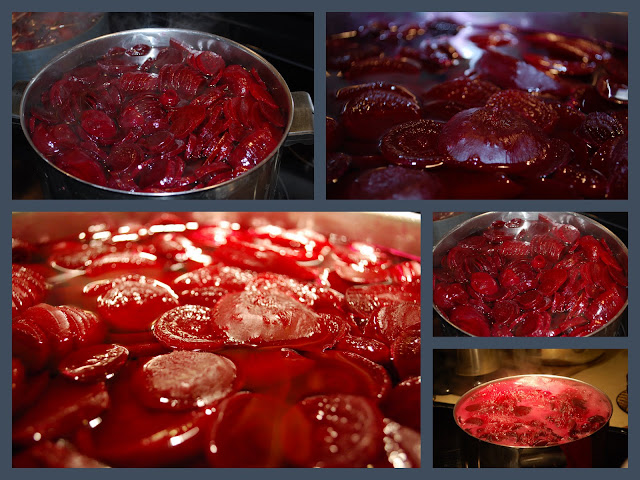
Heat the beet mixture until boiling.

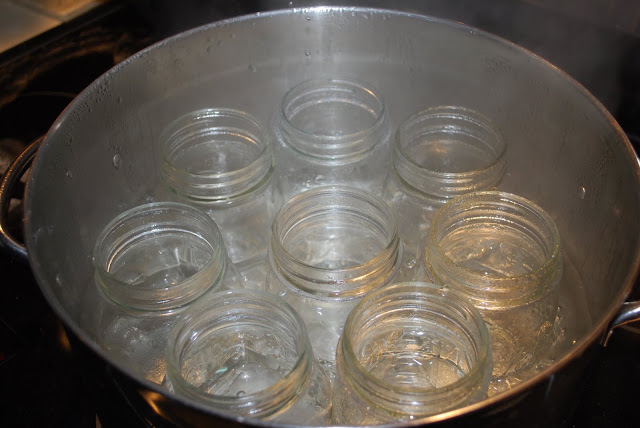
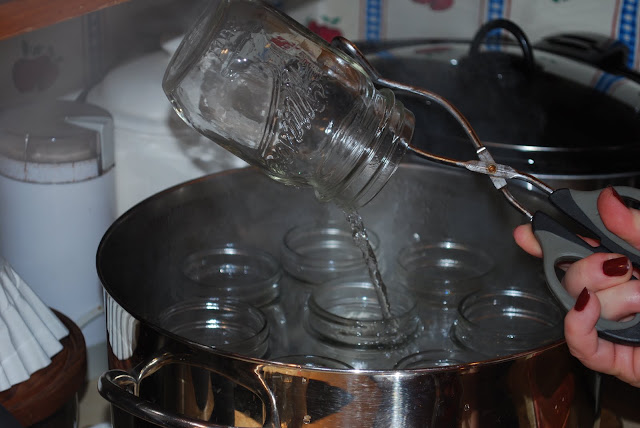
While the beets are heating up, place your clean pint jars in a very large pot. Add water to the pot and also fill each jar halfway. Place the lid on the pot and boil, sterilizing the jars. It is very important to keep the jars piping hot until the canning is completed.

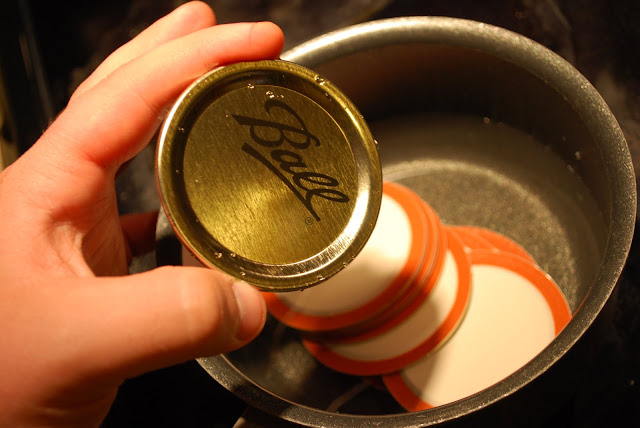
Place the new canning lids in a small pan filled with water and bring to a boil. Place the pan on a trivet near where you plan to fill the jars.

When the jars are very hot and the beets are ready, you can begin to "can." Remove a pint jar from the large pot and pour out the water. Place the jar on a trivet or cutting board.

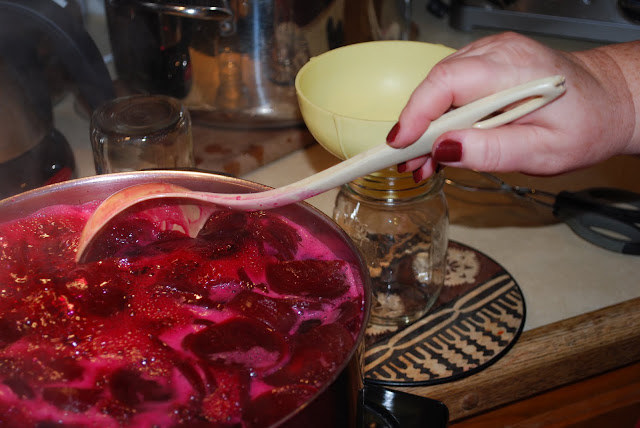
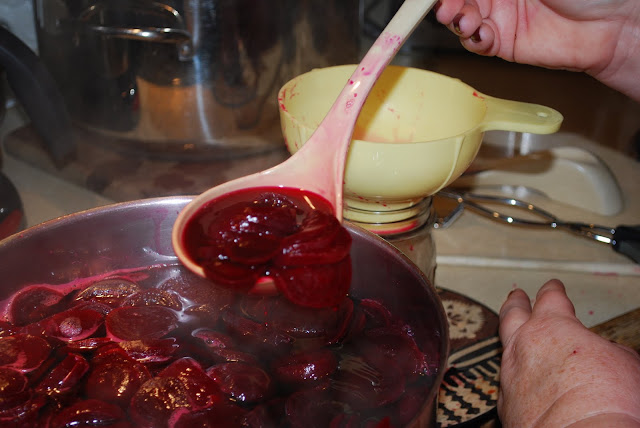
Place a canning funnel on the jar and begin to ladle the beets and sauce into the jar.

Leave about a 1/2 inch space at the top of the jar.

Wipe the top of each jar with a clean cloth. Again, "hairy" arms not mine!
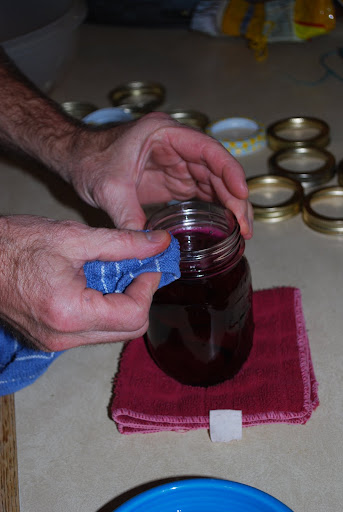
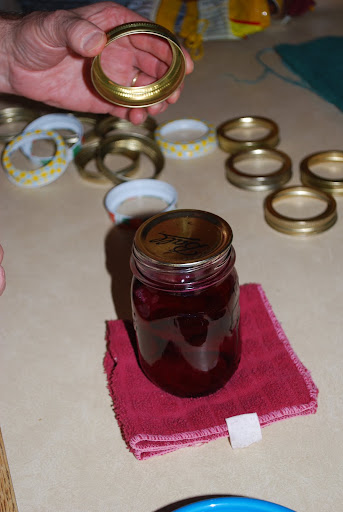
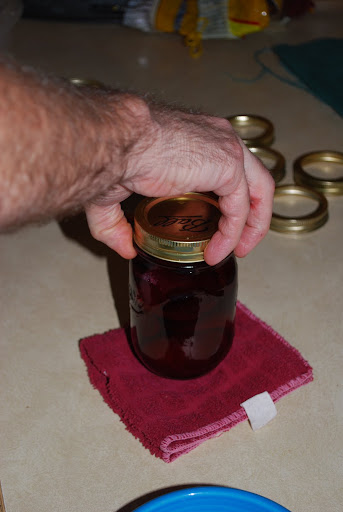
Add a lid and ring and tighten.

Place the jar on towels or a trivet to cool. Make sure that the jars are not spaced close together.

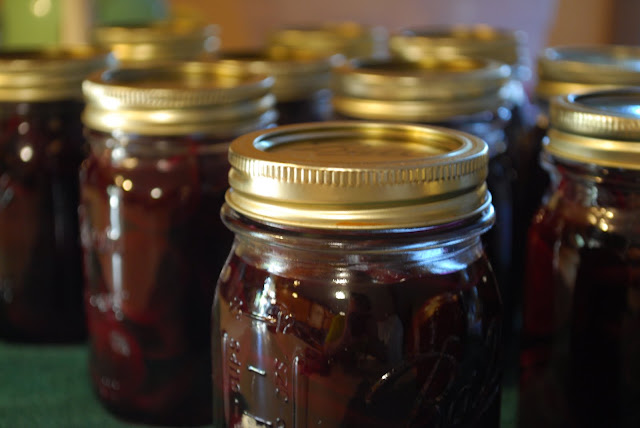
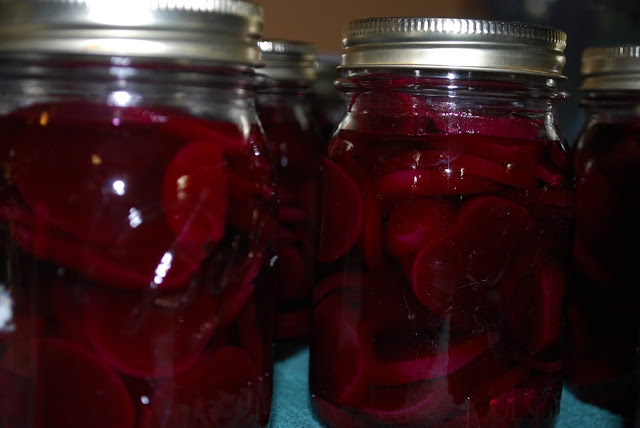
Pickled beets...mmmm! Do not touch the jars as they cool. They will "pop" as they seal. Wait for 12 hours before checking to see if they have sealed. To check, just push on the lids and if they do not move, they are sealed. If they move or "pop" they have not sealed and should be refrigerated.

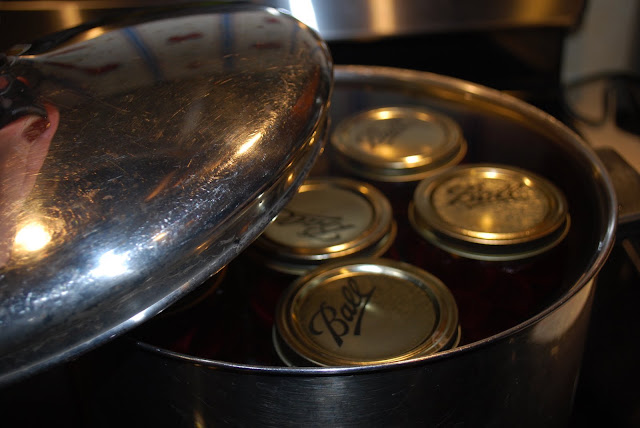
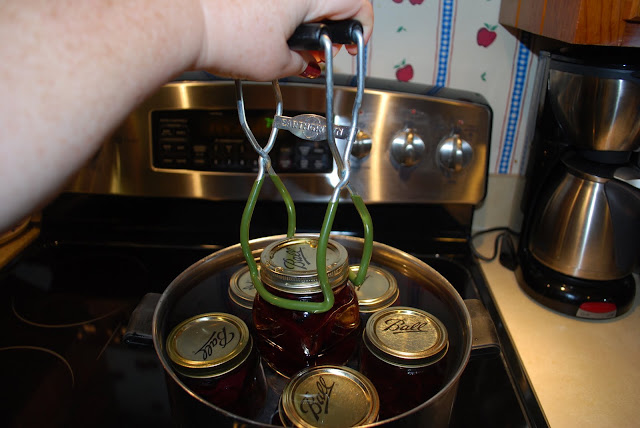
I have used the "Open Kettle" method for canning pickled beets for over 30 years without problems. But, some recipes recommend that you place the jars in a water bath to assure that they are sealed. For a water bath, place the jars in a large pot filled with lukewarm water. The water should cover the jars. Place a lid on the pot and boil for approximately 20-30 minutes.

When finished, remove to a towel to cool.

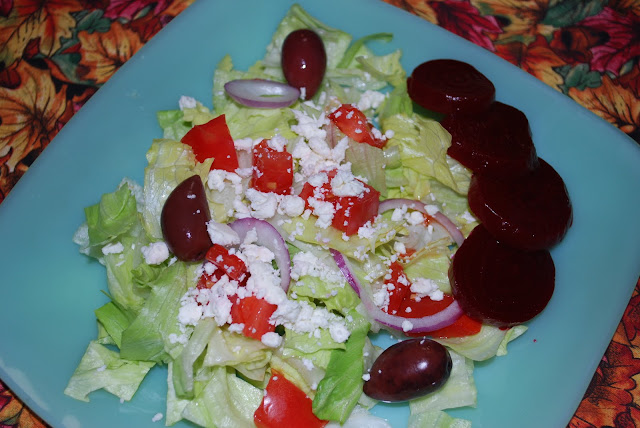
Now it's finally time for a delicious Greek salad...lettuce, tomatoes, red onions, Kalamata olives, Feta cheese, and of course, PICKLED BEETS!

It is so nice to have a shelf full of home-made canned goods, especially enough pickled beets for the year.
Pickled Beets- "Sauce"
(for approximately 6-8 pints)
5 C sugar
3 C vinegar
1 C water
1/2 tsp. salt
Enjoy and have a nice day!