How do you feel about brownies? I think they're fantastic, and growing up my mom always made them according to the recipe in her Betty Crocker cookbook. It looks something like this:

If you aren't familiar with this book, good luck finding a copy... they're going for $79.95 on Amazon.com! Believe it or not, but the book pictured above is an antique-
here's a whole article about it. Of course there are
newer Betty Crocker cookbooks
available, but the one I have lists a completely
DIFFERENT brownie recipe (like 8"x8" is enough brownies to go around)... isn't that a bummer?
So here is the original 1969 (or 1970, depending on which edition my mom owns) Betty Crocker Brownie recipe.
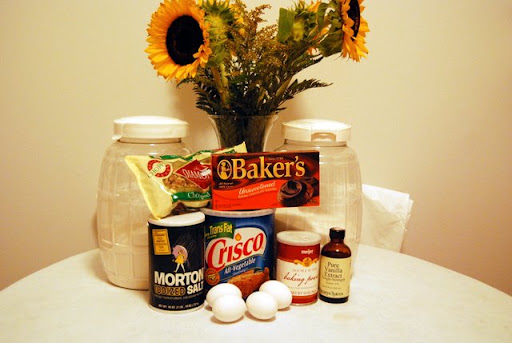
First, the ingredients (I'm channeling a little
PW on this picture, dontcha think?).
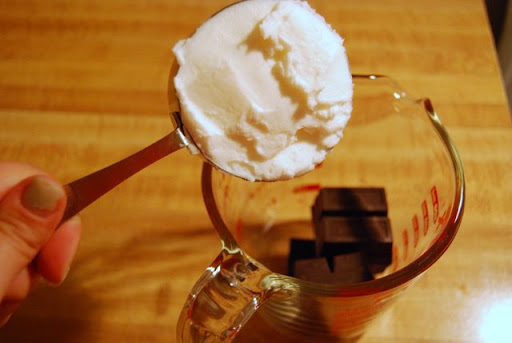
You'll need to melt the Crisco with the chocolate.
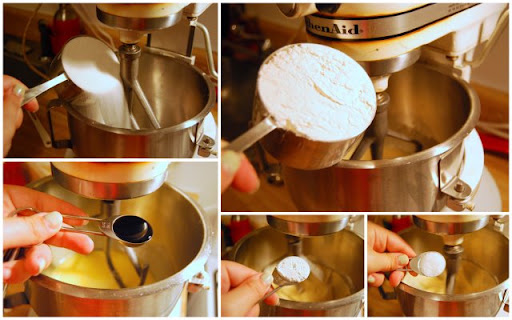
Then you'll add the dry/wet ingredients...
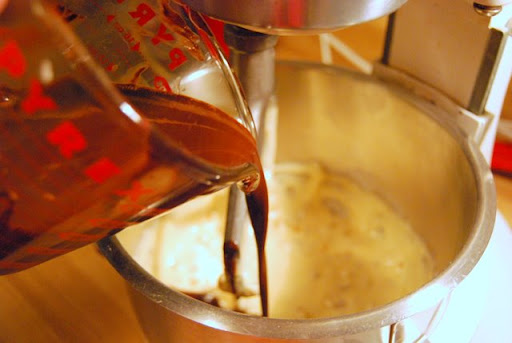
The chocolate mixture...
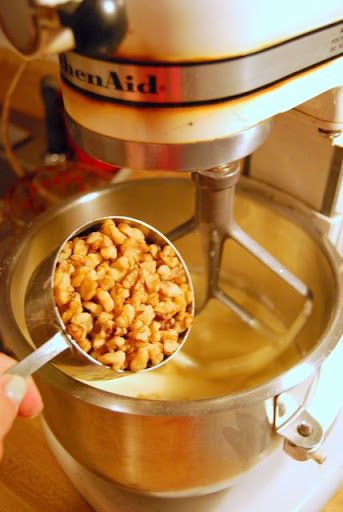
And walnuts. (I don't normally include walnuts, but these were a treat for someone else.)
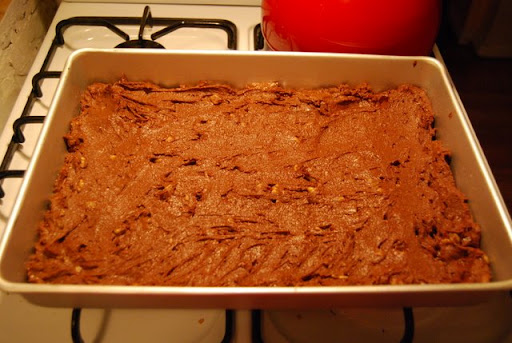
After everything is mixed, smooth it into a greased 9"x13" pan. (Yep- that's so much better than 8"x8"... it's 53" more inches of scrumptious brownies!)
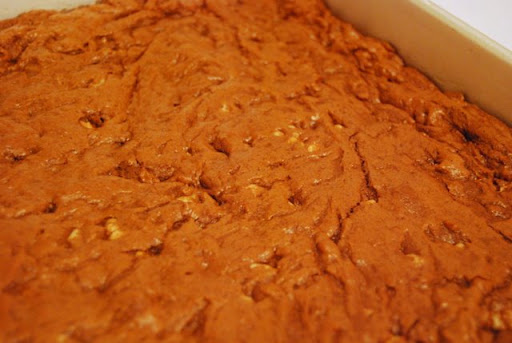
After approximately 30 minutes in the oven, you'll have a pan full of happiness!
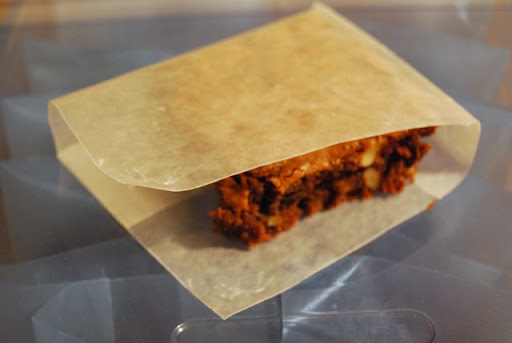
These brownies were headed across town (on two different subway lines, no less), so I needed to figure out a way to transport them. I could have left them in the pan, or wrapped them in Saran Wrap... but then I remembered I had some wax bags. A while back I bought a box of the
Reynolds bags, so I decided to cut them into smaller little packets (I could cut one bag into 2 packets), and then I placed a brownie inside. I thought they looked pretty cute!
Then I loaded all the little brownie pockets into a plastic container with an airtight lid.
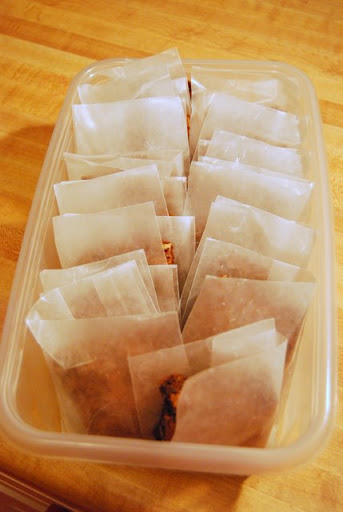
Mmmm... now someone can just grab a brownie and enjoy!
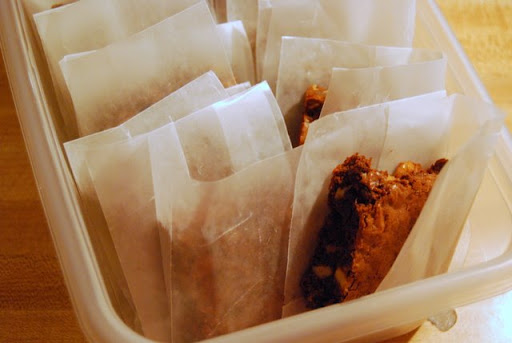
Thanks for stopping by to check out my mom's (by way of Betty Crocker) brownies. Before I forget- here's the recipe:
Betty Crocker's Brownies
Melt together:
4 oz. unsweetened chocolate
½ c shortening
Mix together, and then add chocolate mixture:
2 C sugar
4 eggs
1 tsp vanilla
1 ¼ C flour
1 tsp baking powder
1 tsp salt
1 C chopped nuts (optional)
350 degrees, 9” X 13” pan (greased), 30 minutes
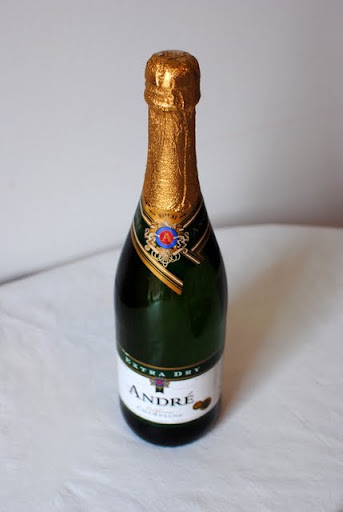 But I thought I'd take that one step further- how about celebrating with a pan full of Champagne Brownies?
 You read that correctly- brownies made with champagne! When I first came across this recipe I couldn't wait to combine two of my favorite foods (champagne and chocolate)... and the outcome was pretty tasty! I started with the following ingredients:
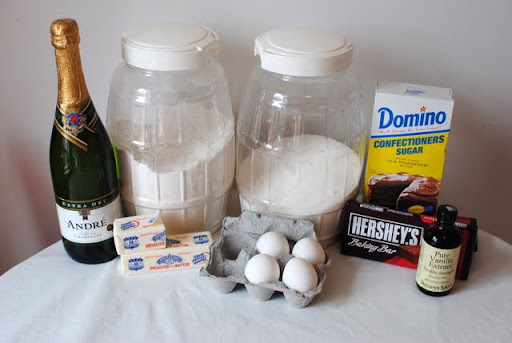 First, I melted the butter and chocolate in a pan on the stove...
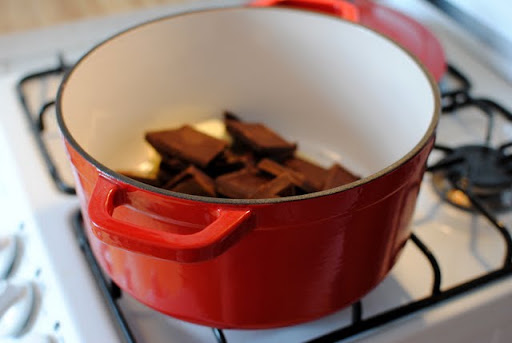
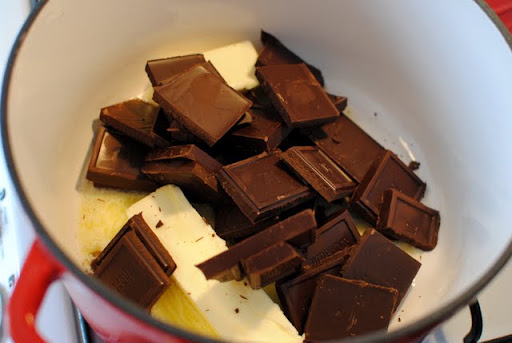 You're probably wondering why I chose to use my french oven just to melt the chocolate and butter. Well, this batter is all made in a single pot on the stove... isn't that cool?
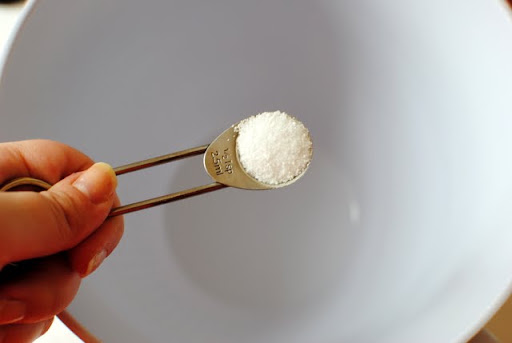
 But back to the brownies! While things were melting on the stove, I turned my attention to the rest of the ingredients like salt...
 Sugar...
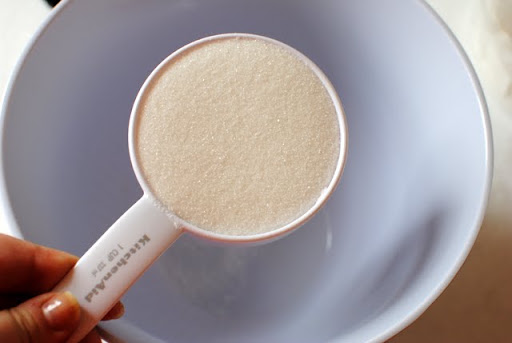 Powdered sugar...
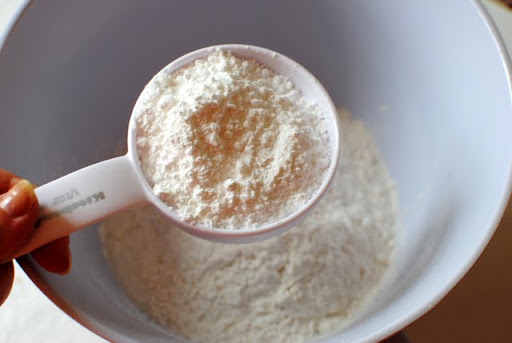 And flour.
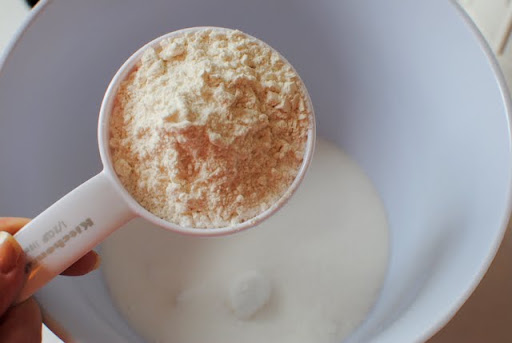 And then I got to pop the bubbly- the best part of my afternoon!
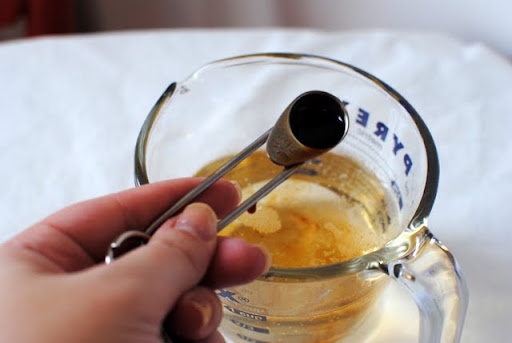
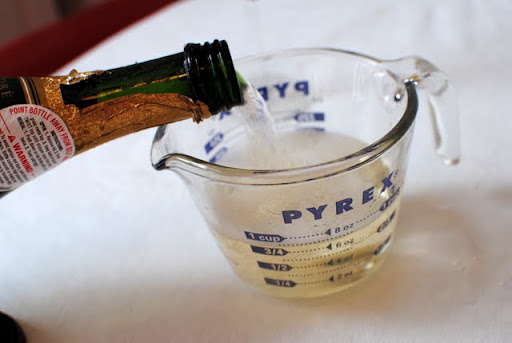 After pouring out a cup, I added a bit of vanilla and set to work combining the batter!
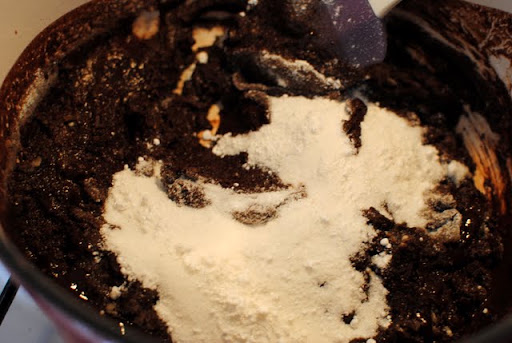
 I added the sugar to the melted chocolate and butter...
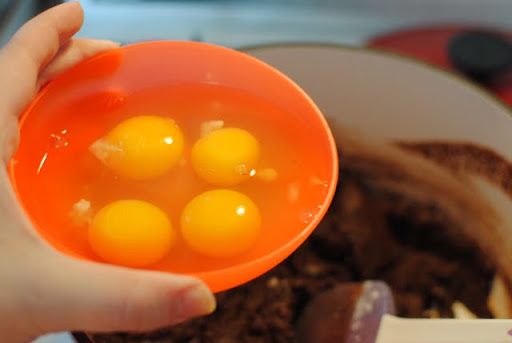
 Once it was combined, I added the eggs (one at a time).
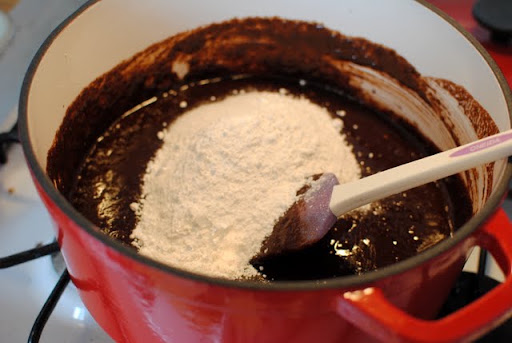
 After the eggs came the flour...
 And finally the champagne/vanilla.
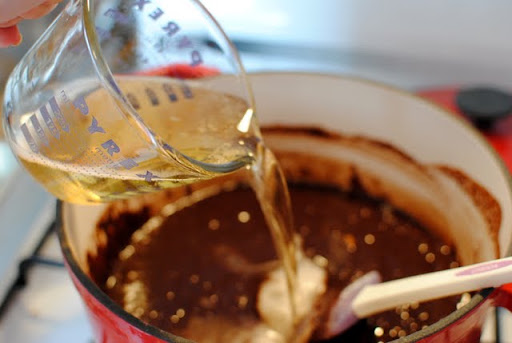 After a good stir, I poured the batter into a greased 9x13 pan and placed it into a pre-heated oven.
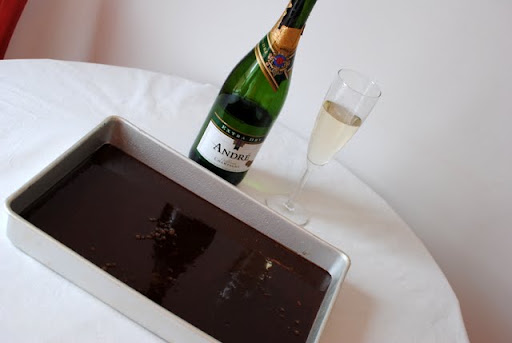 After about 45 minutes I pulled this yummy smelling pan from the oven.
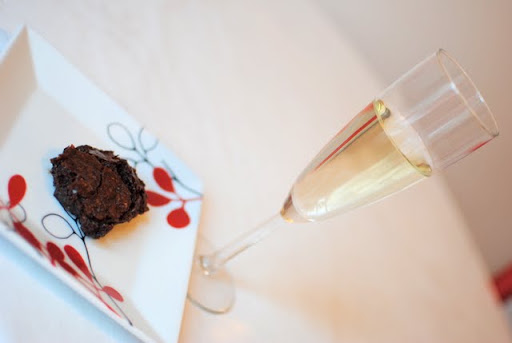
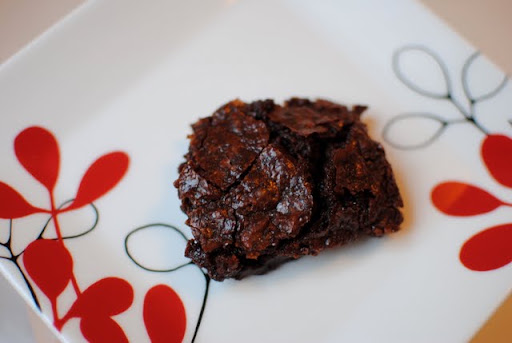
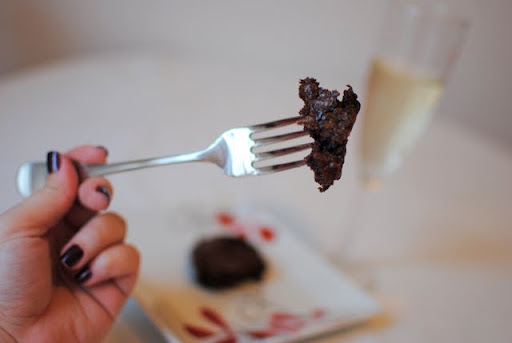
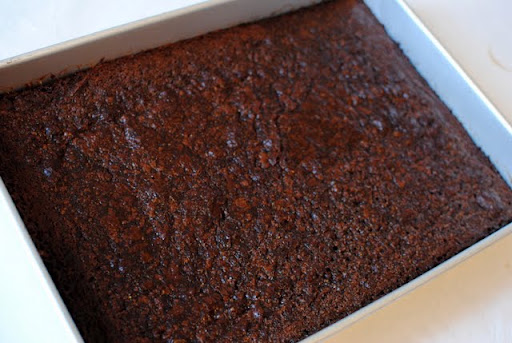 I was so excited to try these new brownies that I sliced a bar and dove right in- talk about rich! (Sorry about the look of the brownie- I didn't wait until the pan had cooled and I totally mangled the piece as I attempted to extract it from the pan!) If you'd like to try these someday, here's the recipe:
 Champagne Brownies
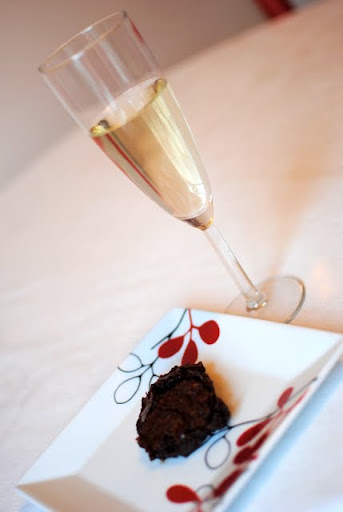 What better way to toast the New Year than with a glass of bubbly and a plate of chocolate deliciousness?!
 Thank you for stopping by! I hope you have a wonderful New Year's Eve and a very happy and healthy 2011!




